Creating a Template Workflow in SpotDraft
Last updated: May 11, 2026
This help article will guide you through the steps of creating a new Template Workflow in SpotDraft. Template Workflows are a powerful tool that allows you to quickly generate contracts by using a questionnaire to populate data into a premade template document.
Getting Started:
Navigate to the "Manage" Menu: Hover over the "Manage" menu to the left of the SpotDraft screen.
Select "Workflow Manager": Click on "Workflow Manager" in the menu.
Set Up a New Workflow: Click the "Set Up New Workflow" button in the top-right corner of the Workflow Manager page.
Choose "Template Workflow": Select the "Template Workflow" option.
Give Your Workflow a Name: Enter a descriptive name for your workflow. For example, "Employment Agreement Workflow".
Add a Description (Optional): You can add a brief description to help users identify the workflow.
Select a Linked Contract Type: Choose a contract type that you want to be associated with this workflow. You can either select an existing contract type or create a new one by typing it into the field.
Important: The contract type you select here will be permanently locked for all contracts created through this Template Workflow. You will not be able to change the contract type later for individual contracts. Choose carefully based on how you want to categorize and manage contracts created from this workflow.
Start Setup: Click the "Start Setup" button to continue setting up your workflow.
Upload Your Template Document: After clicking "Start Setup", you'll be prompted to upload your template file. Drag and drop your .docx file or click "+ Upload .docx" to select the file from your computer.
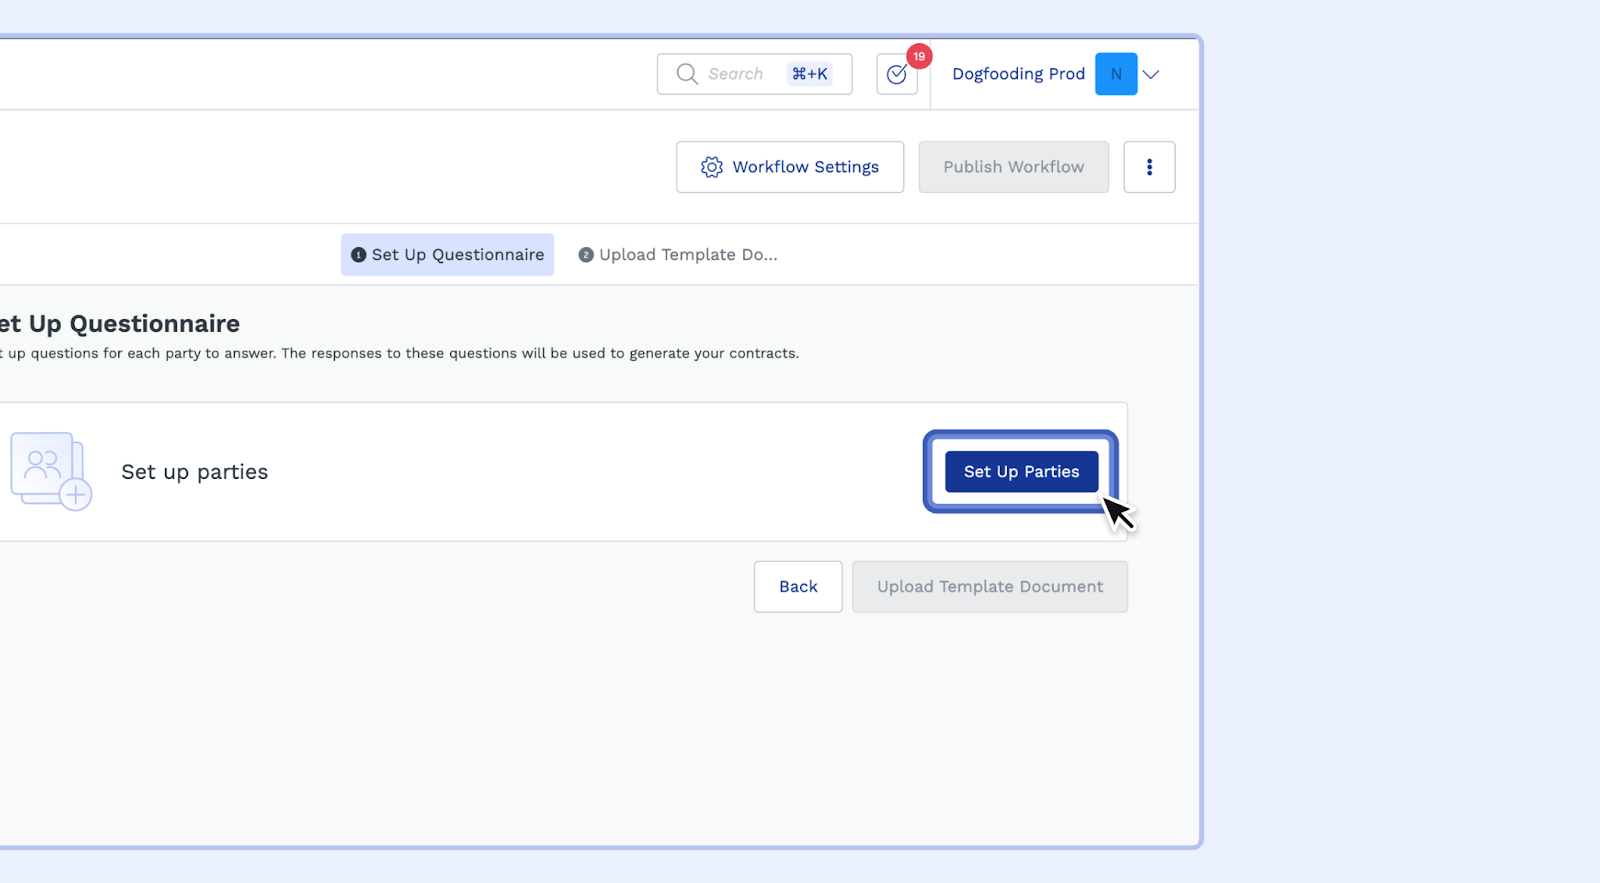
Setting Up Parties: After uploading your document, Set Up Parties: You'll be directed to a page where you need to define "Your Company" and the "Counterparty" for this workflow.
Add Details for Your Company:
Specify Counterparty Type: Choose whether the counterparty is an organization or individual. This setting determines which counterparties can be added and selected when using this workflow - only counterparties matching the selected type will be available. To allow selection of both types, you can set this to accept both organizations and individuals.
Note: If you need to change this setting later (for example, to allow individual counterparties when the workflow was initially set to organization only), go to Manage → Workflow Manager, select the workflow, click "Set Up Document & Questionnaire", click the settings icon in the Counterparty section, enable the desired counterparty type, and republish the workflow.
Granting Access to Use the Template Workflow
After creating your template workflow, you'll need to grant appropriate access to users who will use it to generate contracts.
Important: To use template creation links and generate new contracts from this workflow, users must have Creators access to the associated contract type. Viewers, Suggesters, or Editors access alone is not sufficient for creating new contracts from templates.
Navigate to the contract type associated with this workflow
Add users to the "Creators" access level in the access control settings
Note: Viewers access is sufficient for users who only need to view already created contracts, but not for generating new ones from template workflows.