Okta SCIM Setup
A step-by-step guide to setup SCIM-based user provisioning with Okta on SpotDraft
The prerequisites
- Your organisation should have SSO as part of your subscription
- You should be an Admin with access to the Security & Identity section on SpotDraft
- An existing Okta account
Features
The following provisioning features are supported by SpotDraft currently:
- Create Users (Users in Okta that are assigned to the SpotDraft application in Okta are automatically added as members to your workspace in SpotDraft.)
- Update User Attributes
- Deactivate/Reactivate Users
Presently, SpotDraft does not support the following Okta provisioning features, but may in the future:
- Import Users (Users created in SpotDraft can be imported into Okta and either matched against existing Okta users or created as new Okta users)
- Import Groups (Import Teams from SpotDraft as Groups in Okta.)
- Push Groups (Groups and their members in Okta can be pushed to SpotDraft (as SpotDraft teams and team members.)
- Sync Password
Adding SpotDraft App to Okta
Skip this section if already completed.
Step 1:
If you haven’t already, sign into your Okta Administrative portal https://${yourOktaDomain}-admin.okta.com.
Step 2:
Once signed in, click Applications in the left-hand sidebar, and then Browse App Catalog near the top of the resulting page.
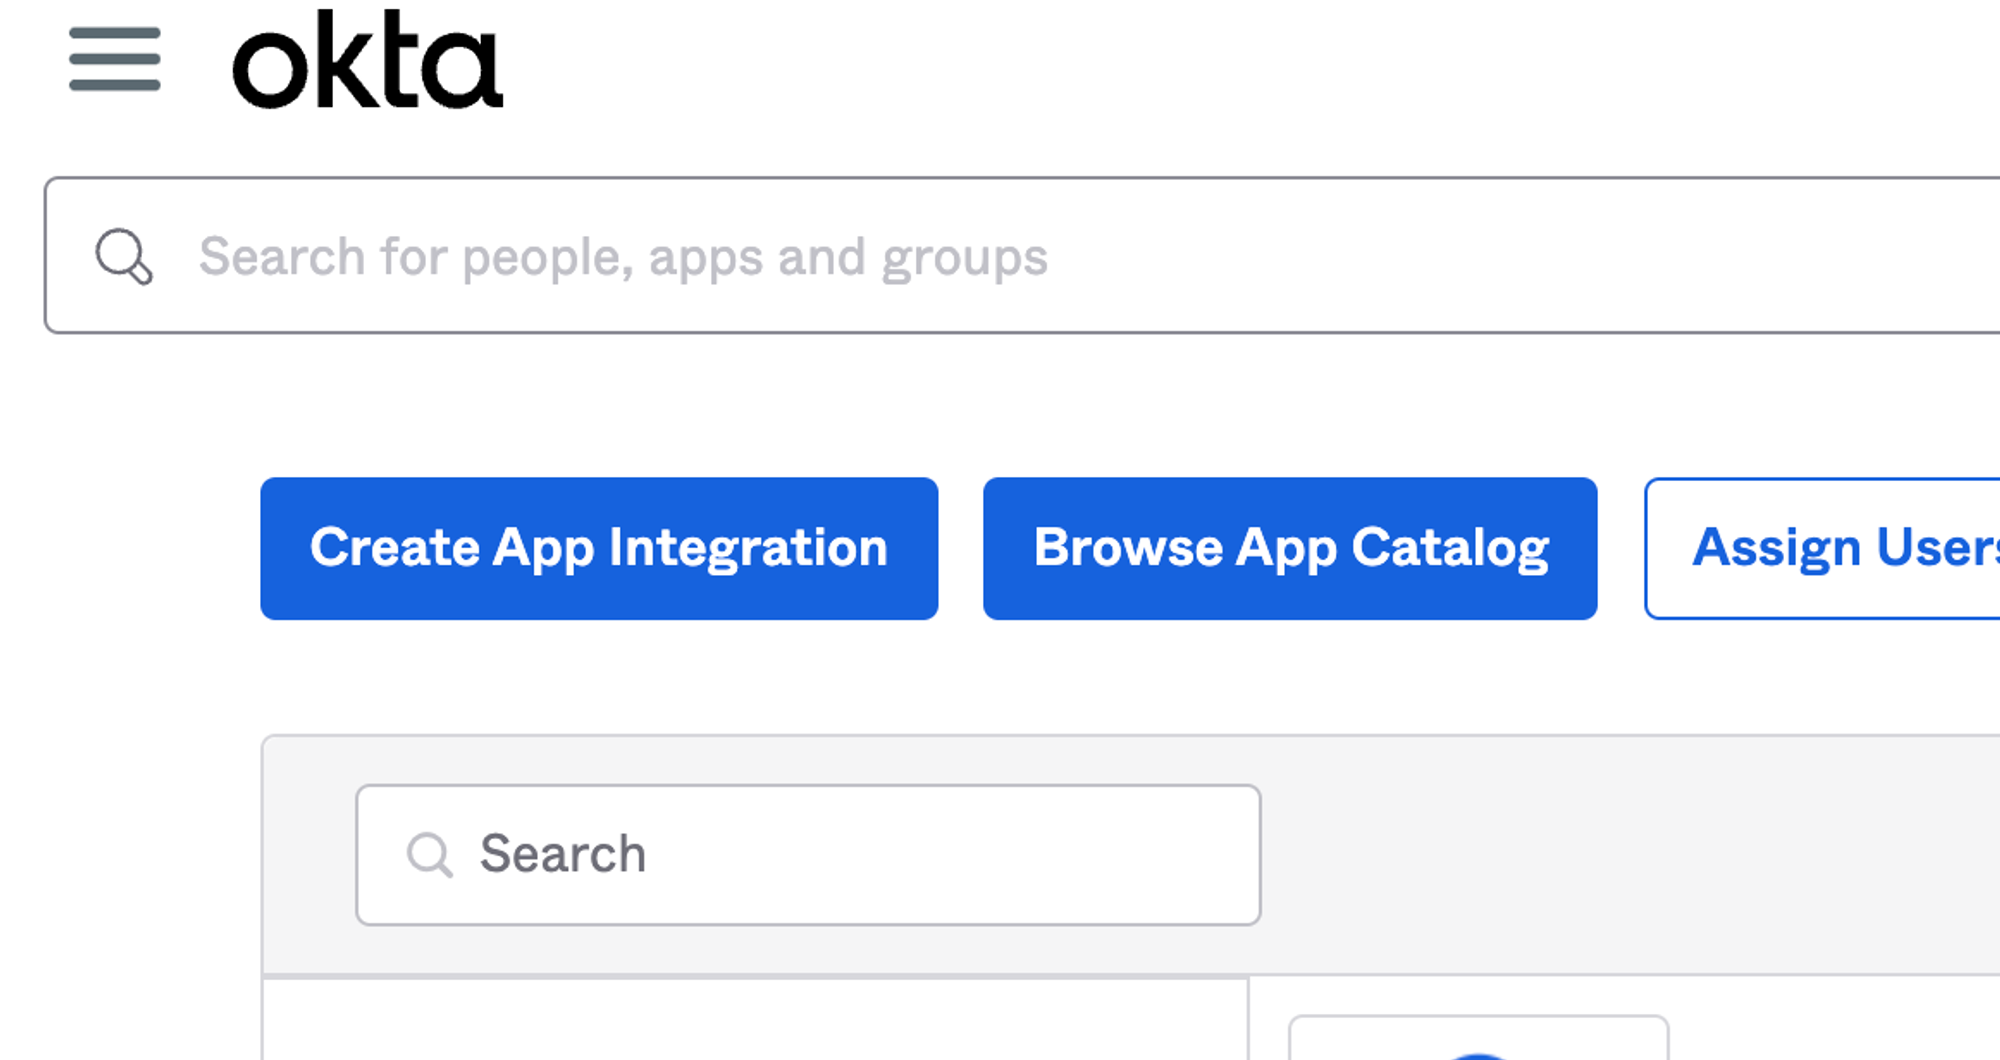
Step 3:
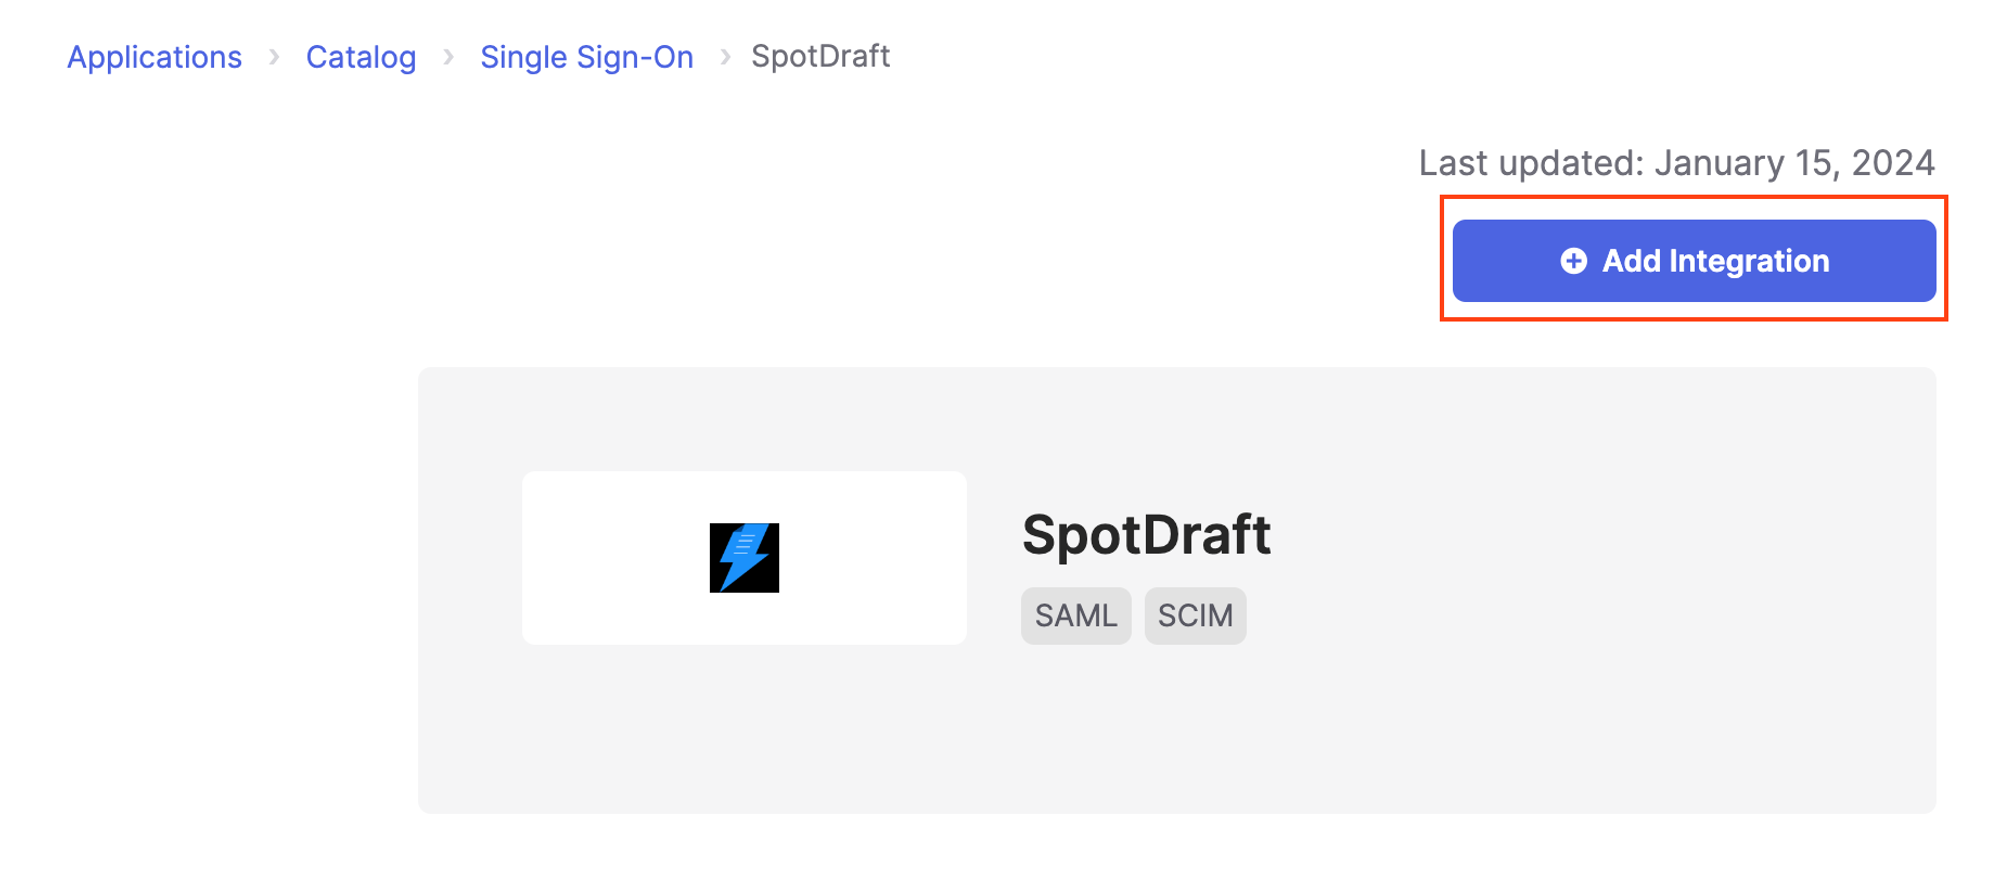
Search for “SpotDraft” in the search bar, and then click the SpotDraft integration from the results. Click the Add Integration button to add the SpotDraft integration to your Okta instance.
Configuring user provisioning with SCIM
Step 1:
Open SpotDraft to generate the SCIM credentials.
- Navigate to the Provisioning tab under the ‘Security and Identity’ section.
- Click on Generate SCIM Credentials.
- Enter a Key Name for the credentials.
- Copy the Base URL and Key.
.png?table=block&id=d6819f2c-3572-4300-ab4e-3c44f9526033&cache=v2)
Step 2:
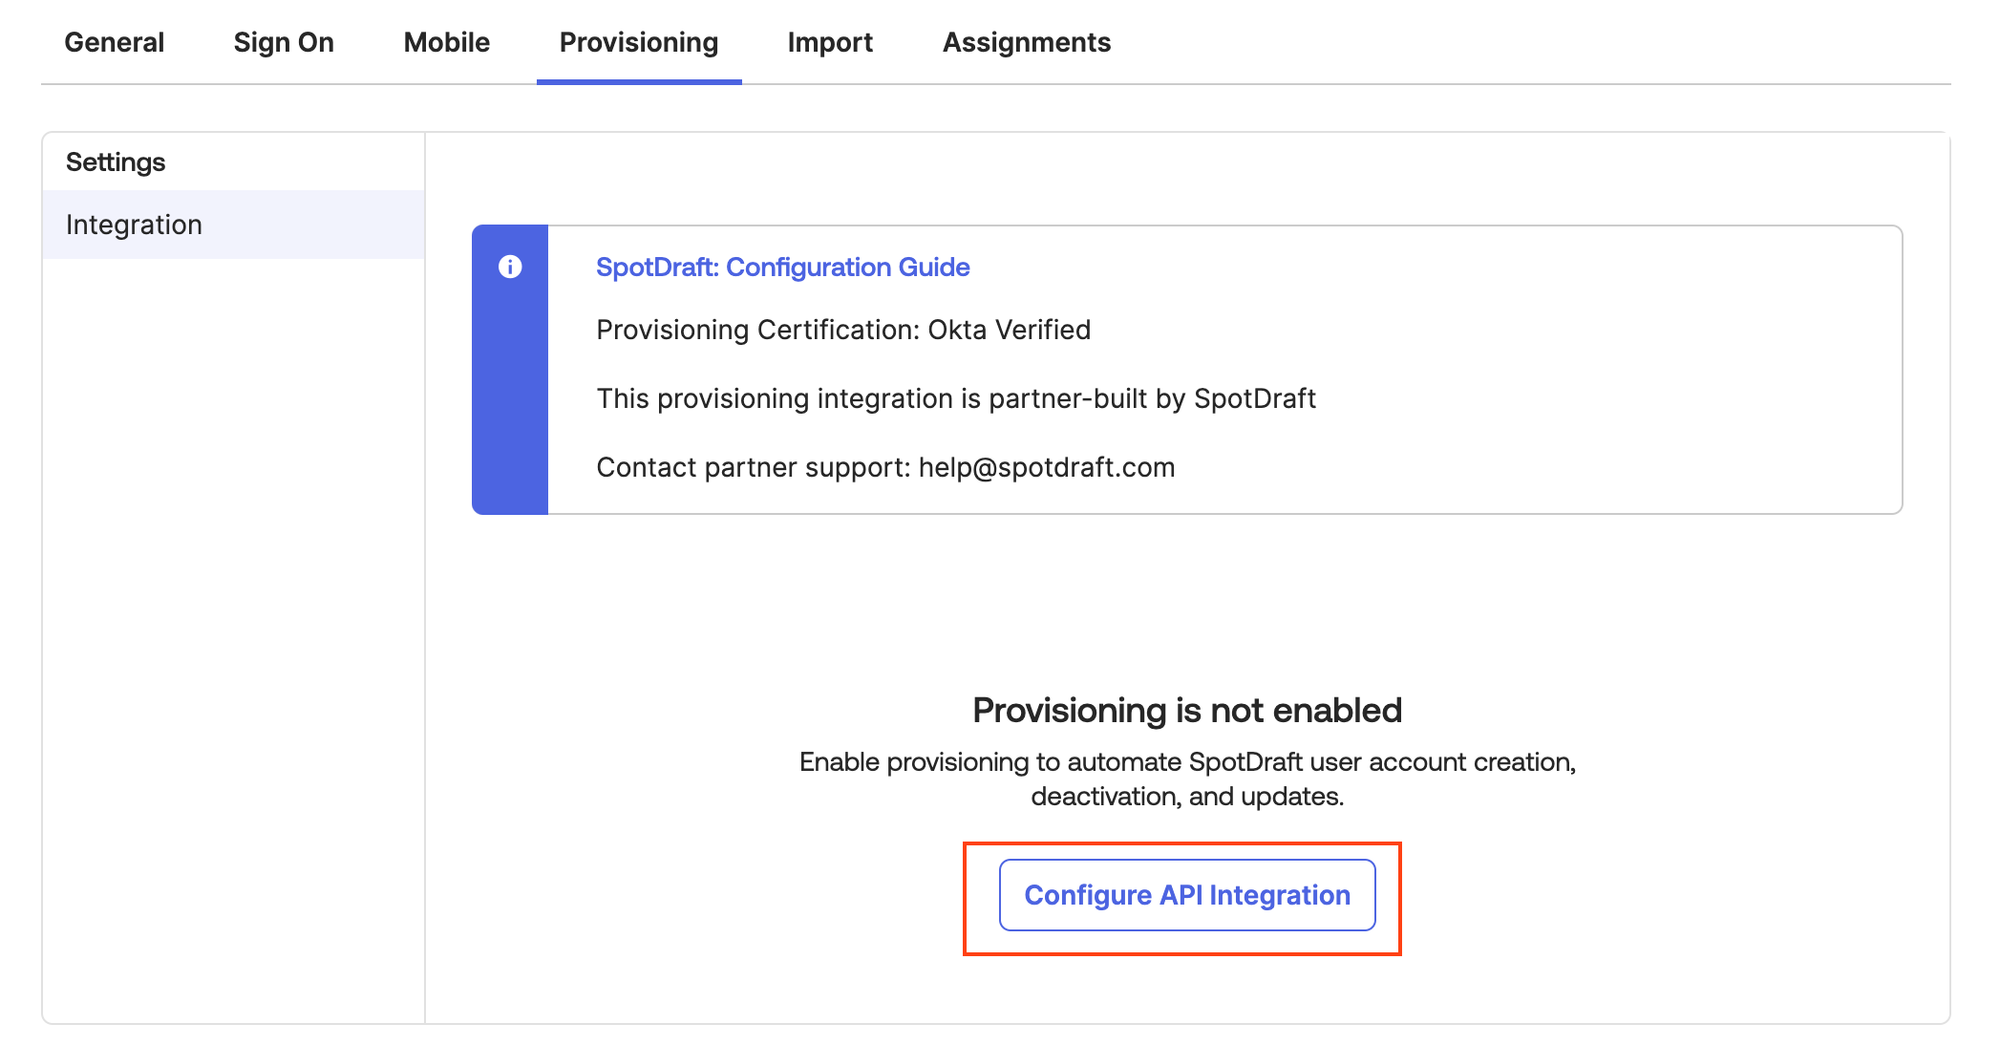
- Navigate to the SpotDraft app on Okta.
- Click on Configure API Integration under the Provisioning tab.
Step 3:
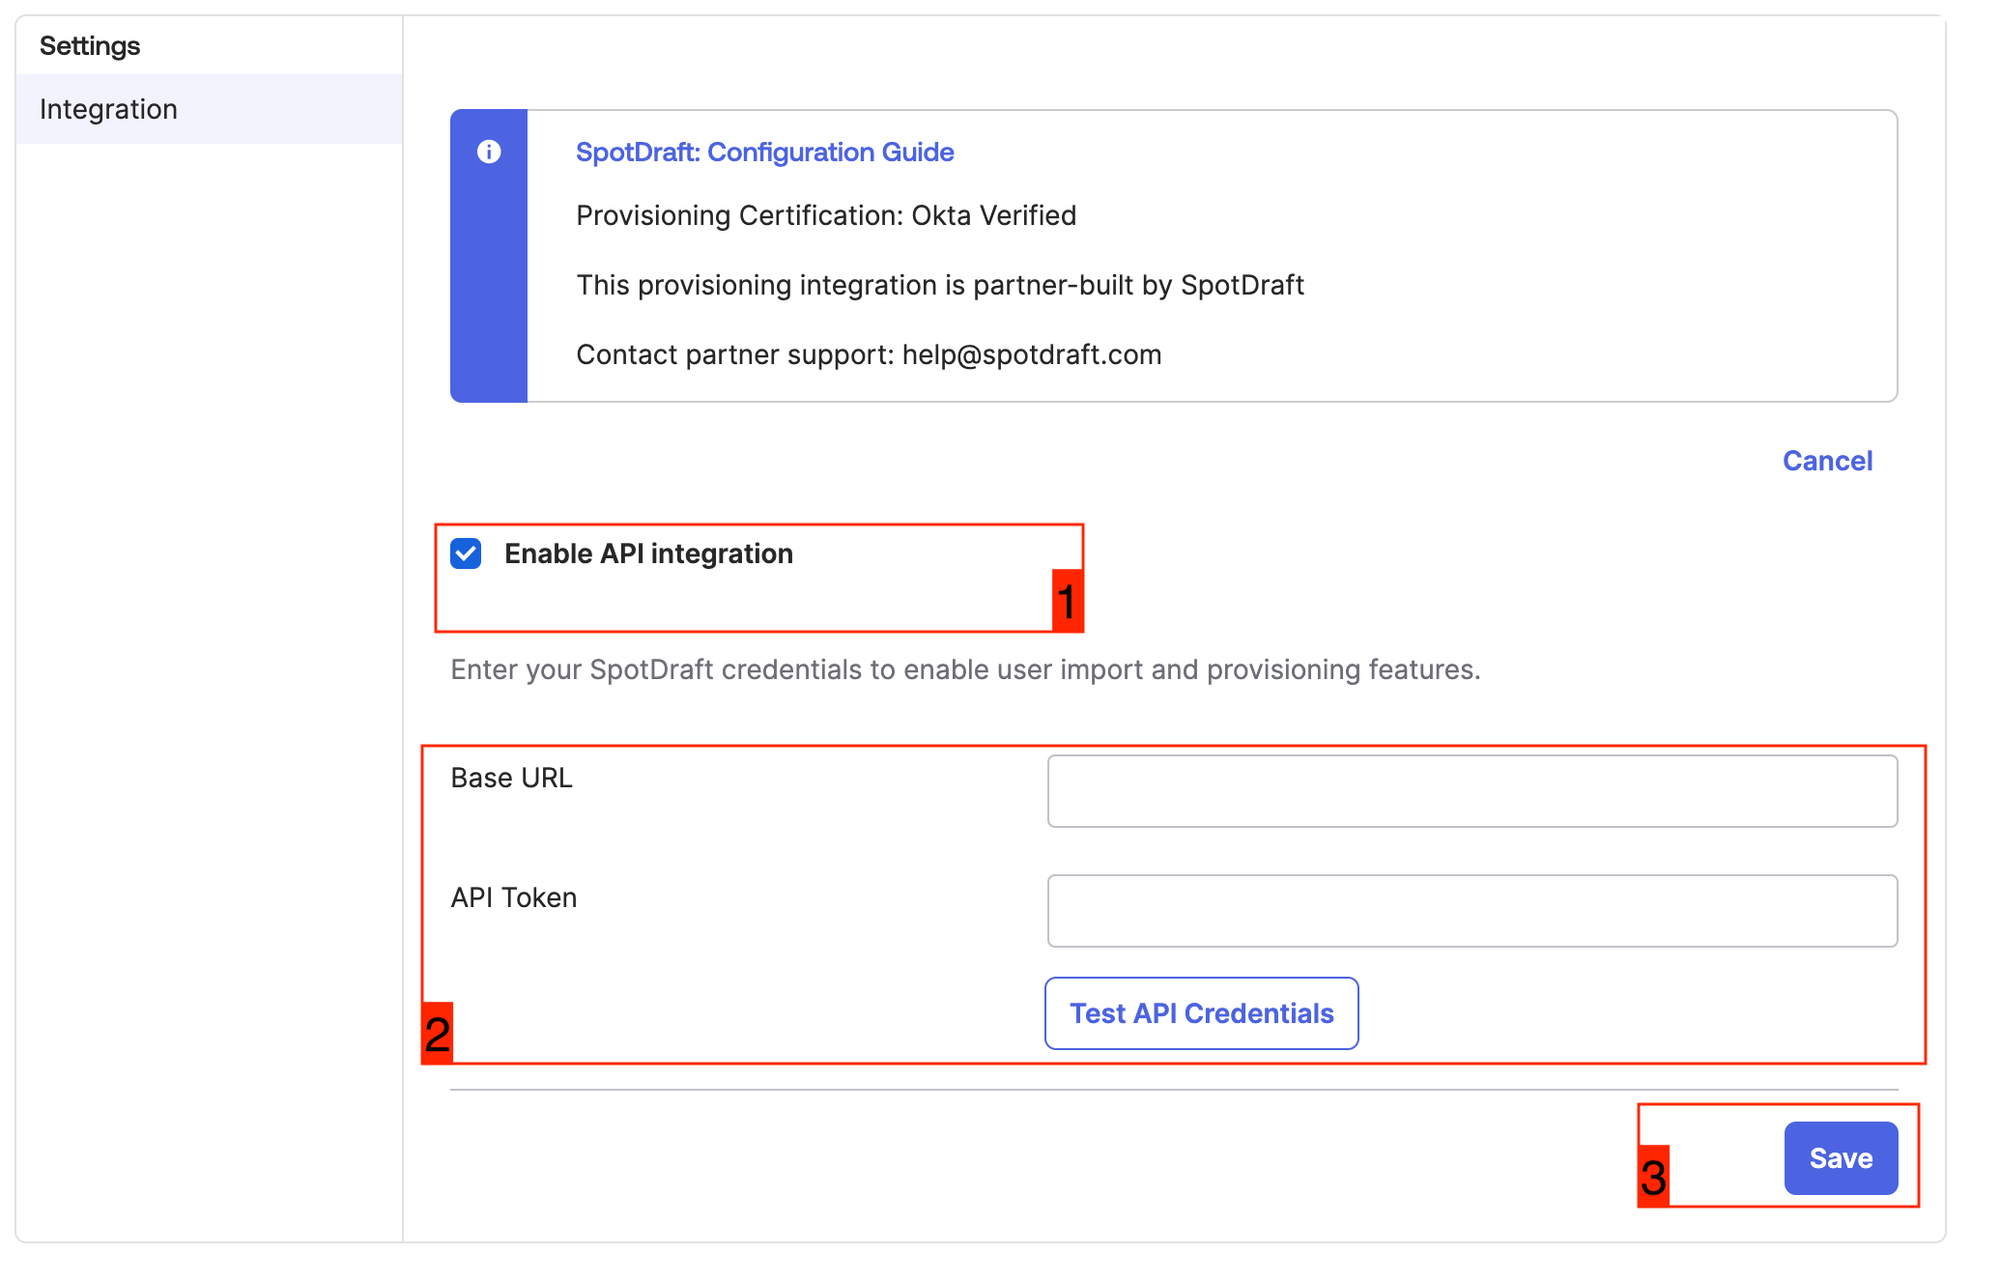
- Check Enable API Integration.
- Paste the Base URL & Key generated from SpotDraft in the Base URL & API Token fields in Okta respectively.
- Click on Save.
Step 4:
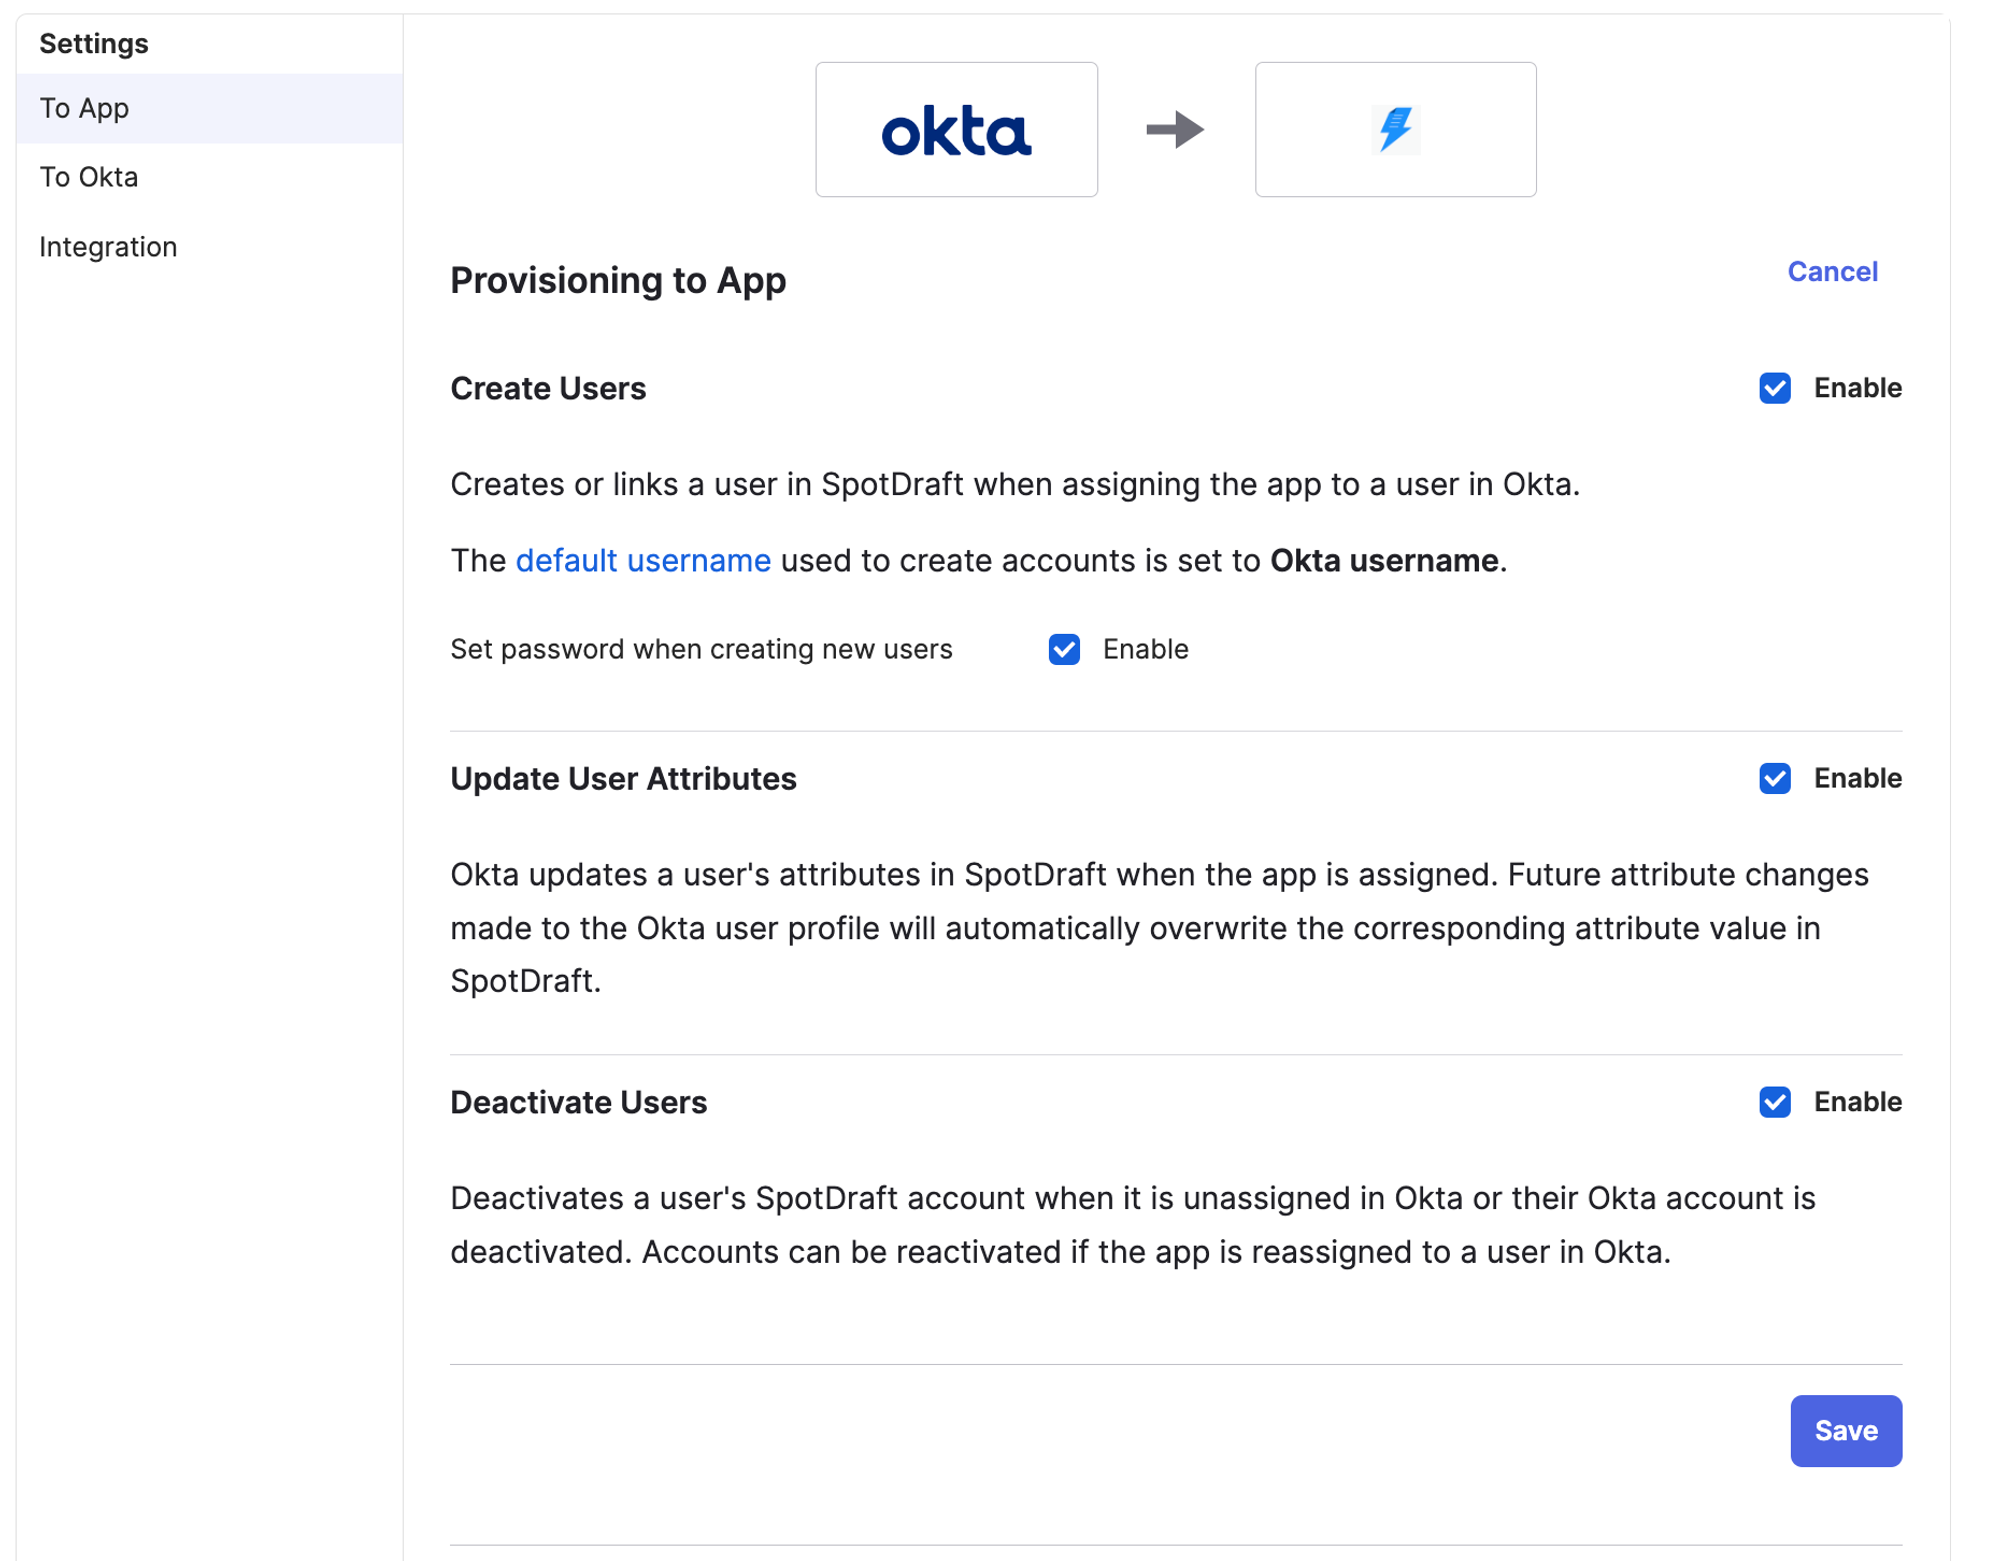
- In the To App section under the Provisioning tab, make sure the following options are checked:
- Create Users
- Update User Attributes
- Deactivate Users
- Click on Save.
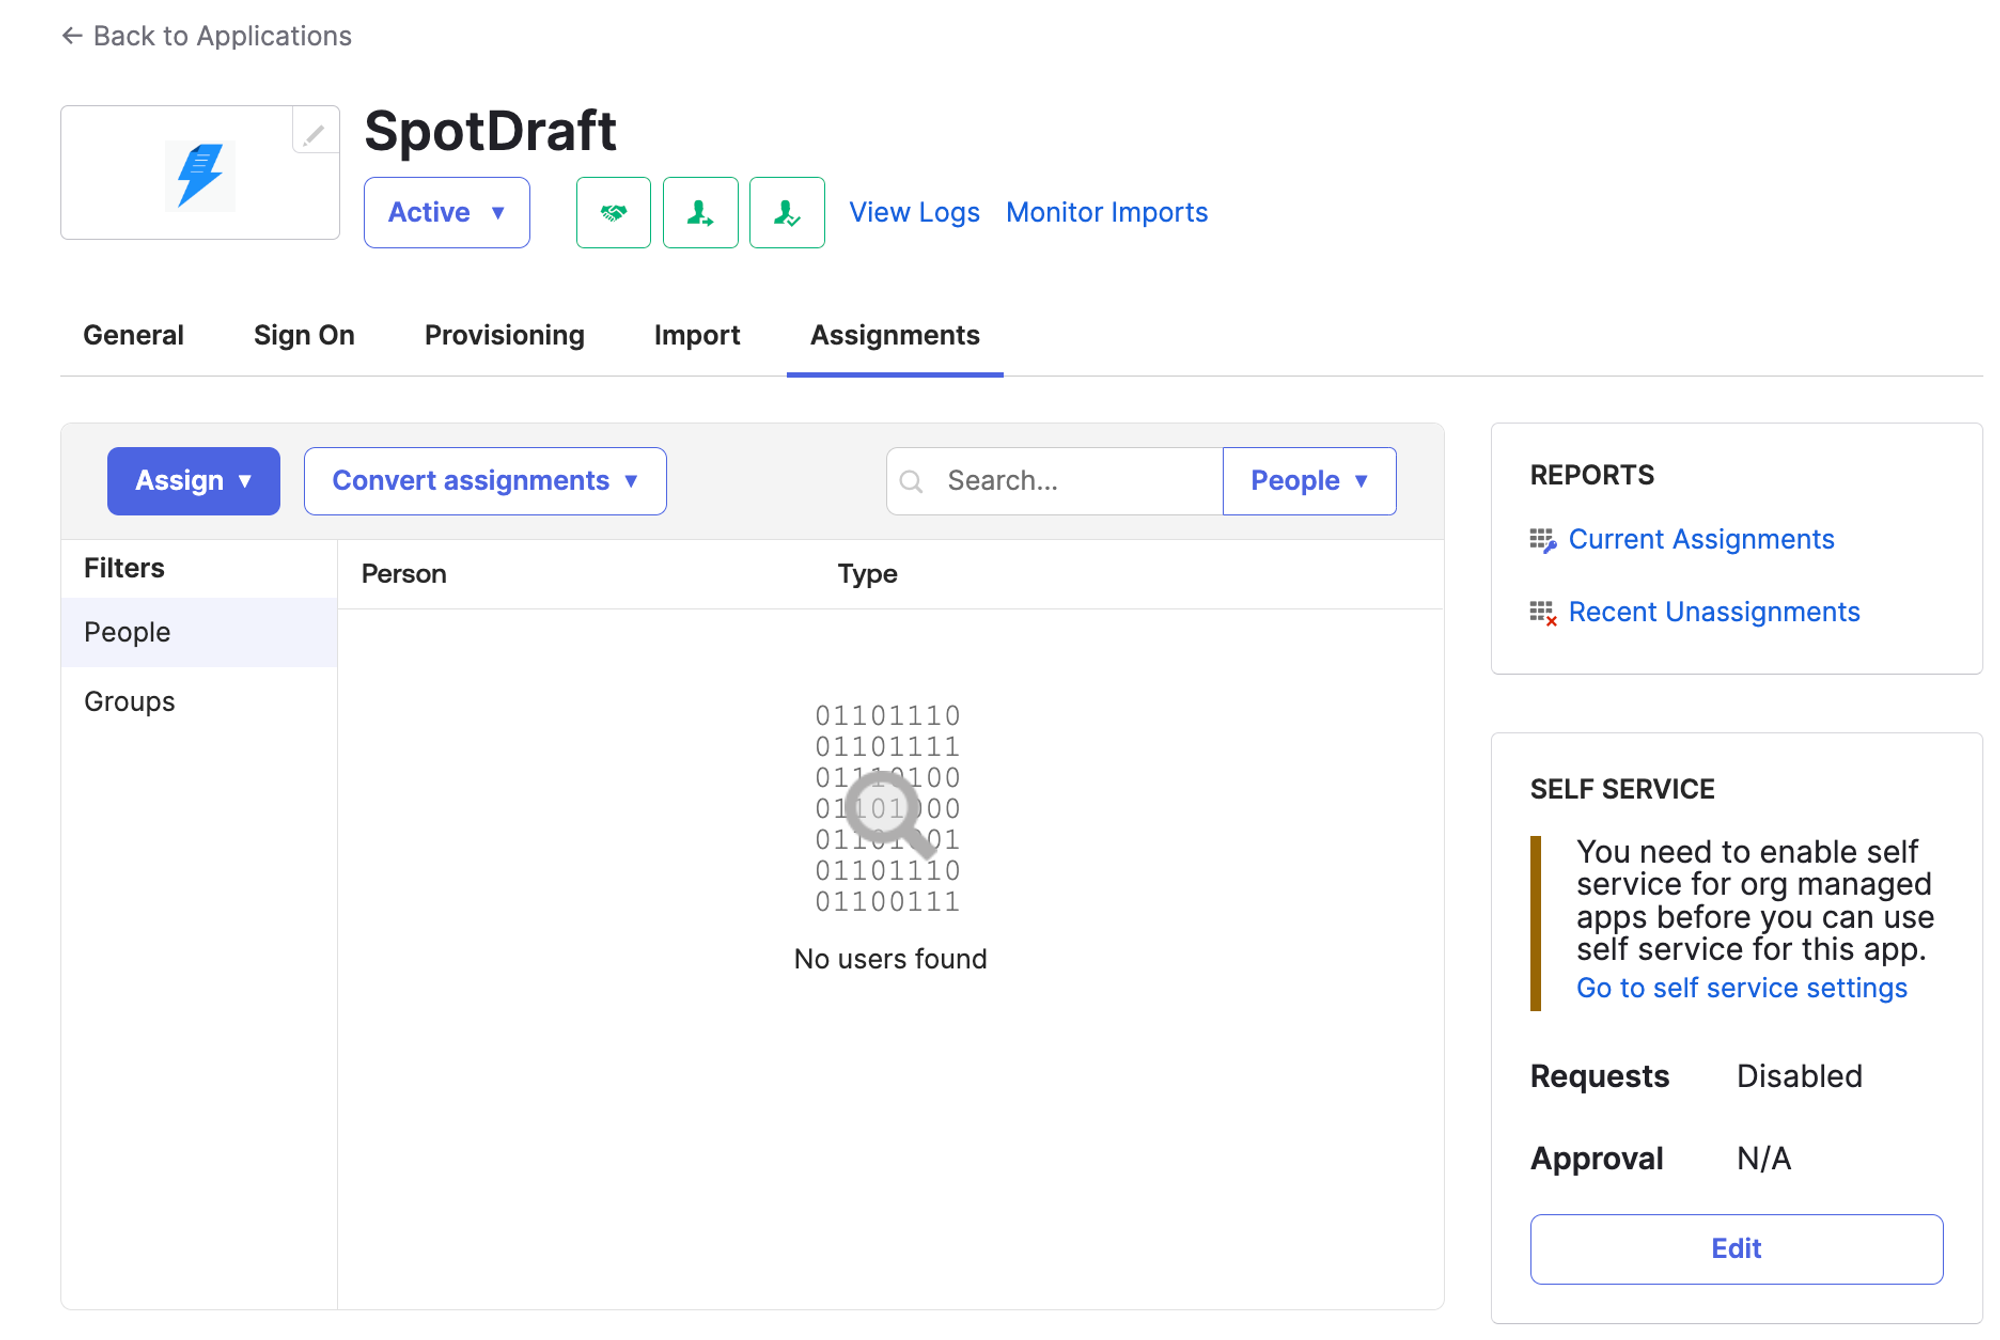
Step 5:
Now start Provisioning/Deprovisioning users to SpotDraft from the Assignments Tab.
For setting up SAML on Okta
Last updated on July 19, 2023