Sharepoint
Last updated: March 2, 2026
💡 The article provides a comprehensive guide on integrating SpotDraft with Microsoft SharePoint, allowing users to seamlessly save executed contracts to SharePoint for better organization and collaboration.
🛠 Integrating SpotDraft with Microsoft SharePoint
Seamlessly save executed contracts to SharePoint for better organization and collaboration.
🚀 Introduction
Transform your contract management process with the SpotDraft-SharePoint integration, a dynamic solution that combines SpotDraft's contract execution efficiency with SharePoint's robust document management system. This integration is tailored to enhance organization and accessibility in contract handling, offering an automated and user-friendly approach for businesses.
With this integration, every contract executed in SpotDraft is automatically converted to a PDF and saved to SharePoint. This streamlined process is focused on ease of use and efficient management.
Key Features of the Integration:
Customizable Storage Path: Users have the freedom to select the specific Site, Drive, and Folder within SharePoint where all executed contract PDFs will be stored. This selection tailors the storage location to your organization's unique SharePoint structure.
Automated File Organization: All contracts are saved in the chosen SharePoint folder, adopting a uniform naming convention for ease of identification and retrieval. Each filename follows the format: 'Counterparty Name - Contract Title - Unique ID'. This systematic approach ensures logical storage and straightforward access to contracts.
Efficient Sharing and Collaboration: Leverage SharePoint's extensive sharing and collaboration features to enhance team productivity and stakeholder communication while maintaining stringent control over contract accessibility.
Enhanced Security with Automated Backups: Benefit from SharePoint’s advanced security features, complemented by SpotDraft’s automated backup system, to ensure that your contracts are not only stored safely but also backed up regularly for additional security.
This guide will provide you with the steps to configure this integration, enabling you to fully leverage SharePoint’s document management capabilities in tandem with SpotDraft’s contract management system for a streamlined, efficient, and secure experience.
📝 Prerequisites
Before installing the SharePoint integration:
Takes 15-20 minutes to complete the integration
Ensure "SharePoint" integration is enabled in your SpotDraft workspace.
Have SpotDraft - Admin or Integrations Access
Have an organizational SharePoint account ready (e.g., integrations@company.com).
Access to your Microsoft Entra ID (within Microsoft Azure https://portal.azure.com/#home).
Make sure to have sufficient space on SharePoint to auto upload executed contracts.
Identify SharePoint destination folder details that will need to be specified in SpotDraft:
Site ID
Site Drive ID
File Path
Note- The authenticated user must be the Site Owner for the Site to appear in the List Sites field.
If the Site Owner was changed recently, it may take up to 30 minutes for the update to be reflected in API responses.
Decide on the subfolder structure and file naming format (details below).
Folder Structure and File Naming:
When configuring the integration, you will define:Subfolder structure within the parent folder, such as:
- Parent
- Contract Type
- Contract Type > CounterParty
- CounterParty
- CounterParty > Contract Type
- CounterParty > Entity > Contract Type
- Entity > CounterParty
- Entity > Contract Type
- Entity > Contract Type > CounterParty
- Entity > CounterParty > Contract Type
- Entity > Contract Metadata Value > Contract Type
- Contract Metadata Value > Entity > Contract Type
Define the metadata value if selected in the folder structure
File naming format with contract label and date format:
Label: , , , , or
Date: , , or
Note: For imported historical contracts without a counterparty name or contract type, the fallback filename is set to "Others".
⚙ Installation & Configuration
Navigate to Settings > Integrations > Cloud Storage > SharePoint and go to the Setup tab.


Click on the Connect button. A sidesheet will open. Fill in the following information to authenticate:
SpotDraft Authentication: Client ID, Client secret, email & enter API URL as (https://api.spotdraft.com/api/v2.1)
(You can get these details from 'Settings -> developer settings' of your SpotDraft account)


Click on OneDrive New Authentication & a new window will open with the SharePoint login page. Log in using your SharePoint credentials to authorize SpotDraft to access your SharePoint account.


4.1. SpotDraft will need access to your Microsoft Account. This will allow SpotDraft to upload executed files properly into designated folders as per your preference. This is expected & secure. The access includes:
Sign in and read user profile
Maintain access to data you have given it access to
Edit or delete items in all site collections

4.2. Once connected is done, you get a success message then click on Next

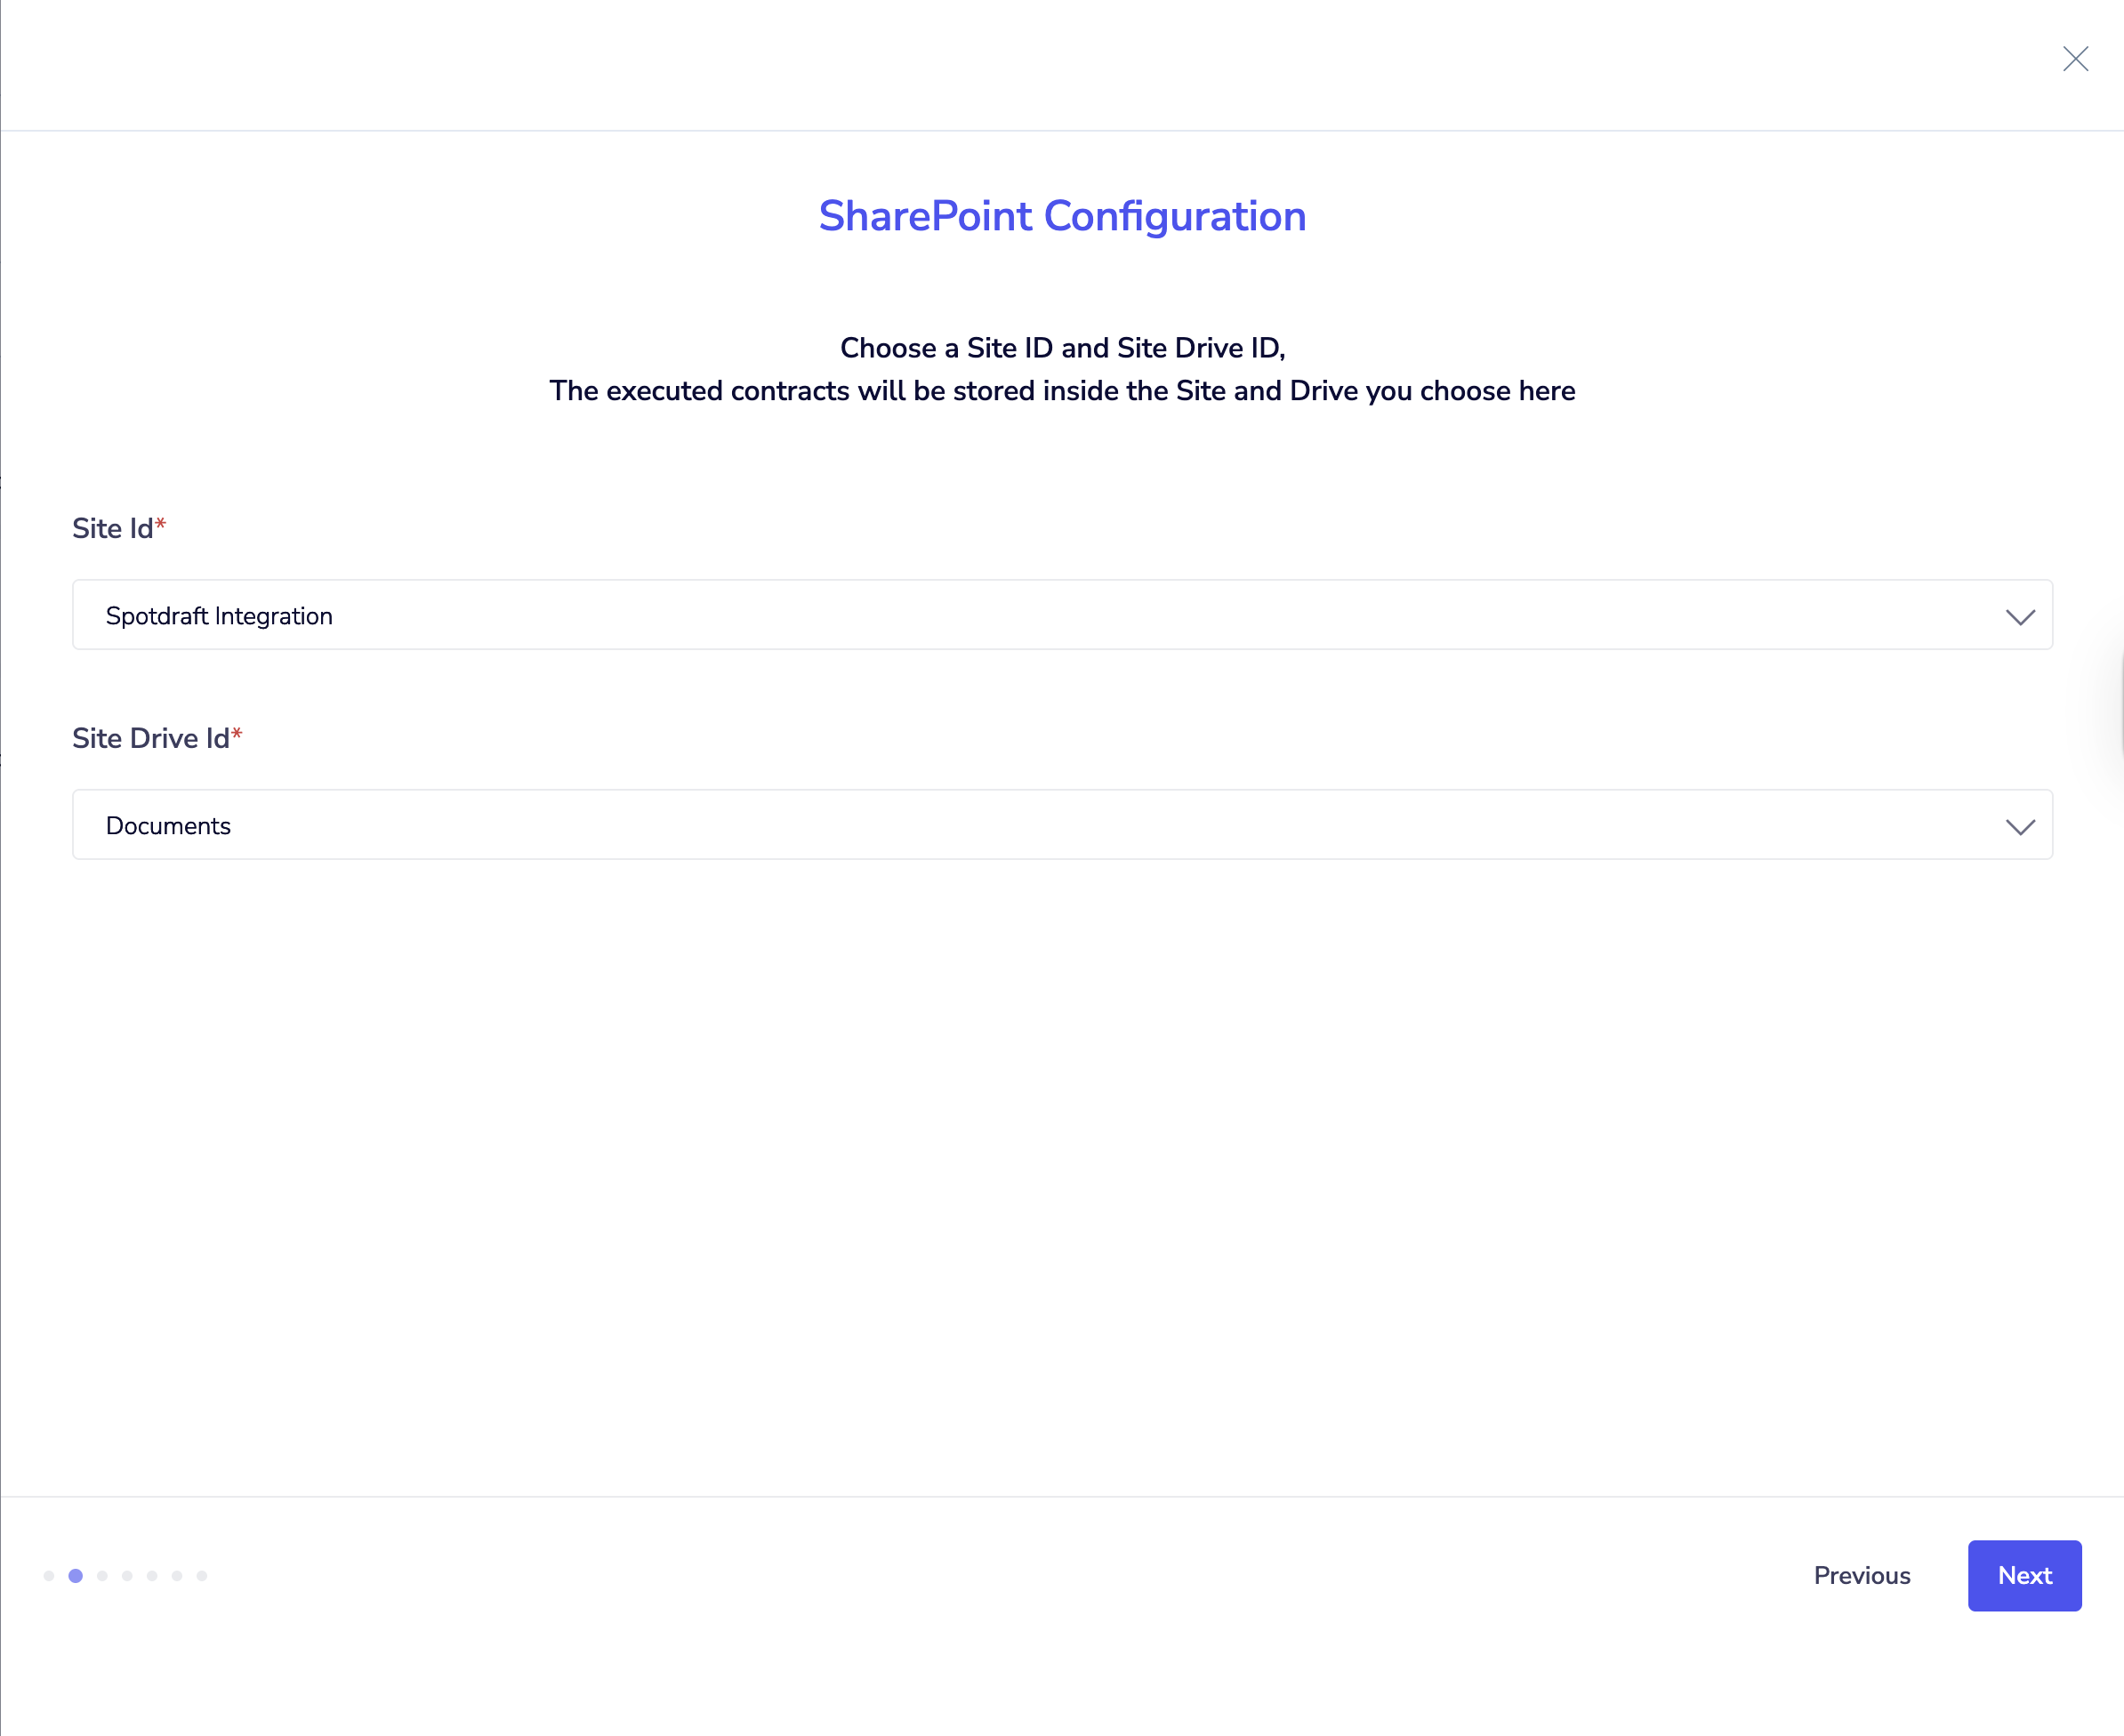
5. For the SharePoint Configuration step, Select the Site ID and Site Drive ID from the dropdown
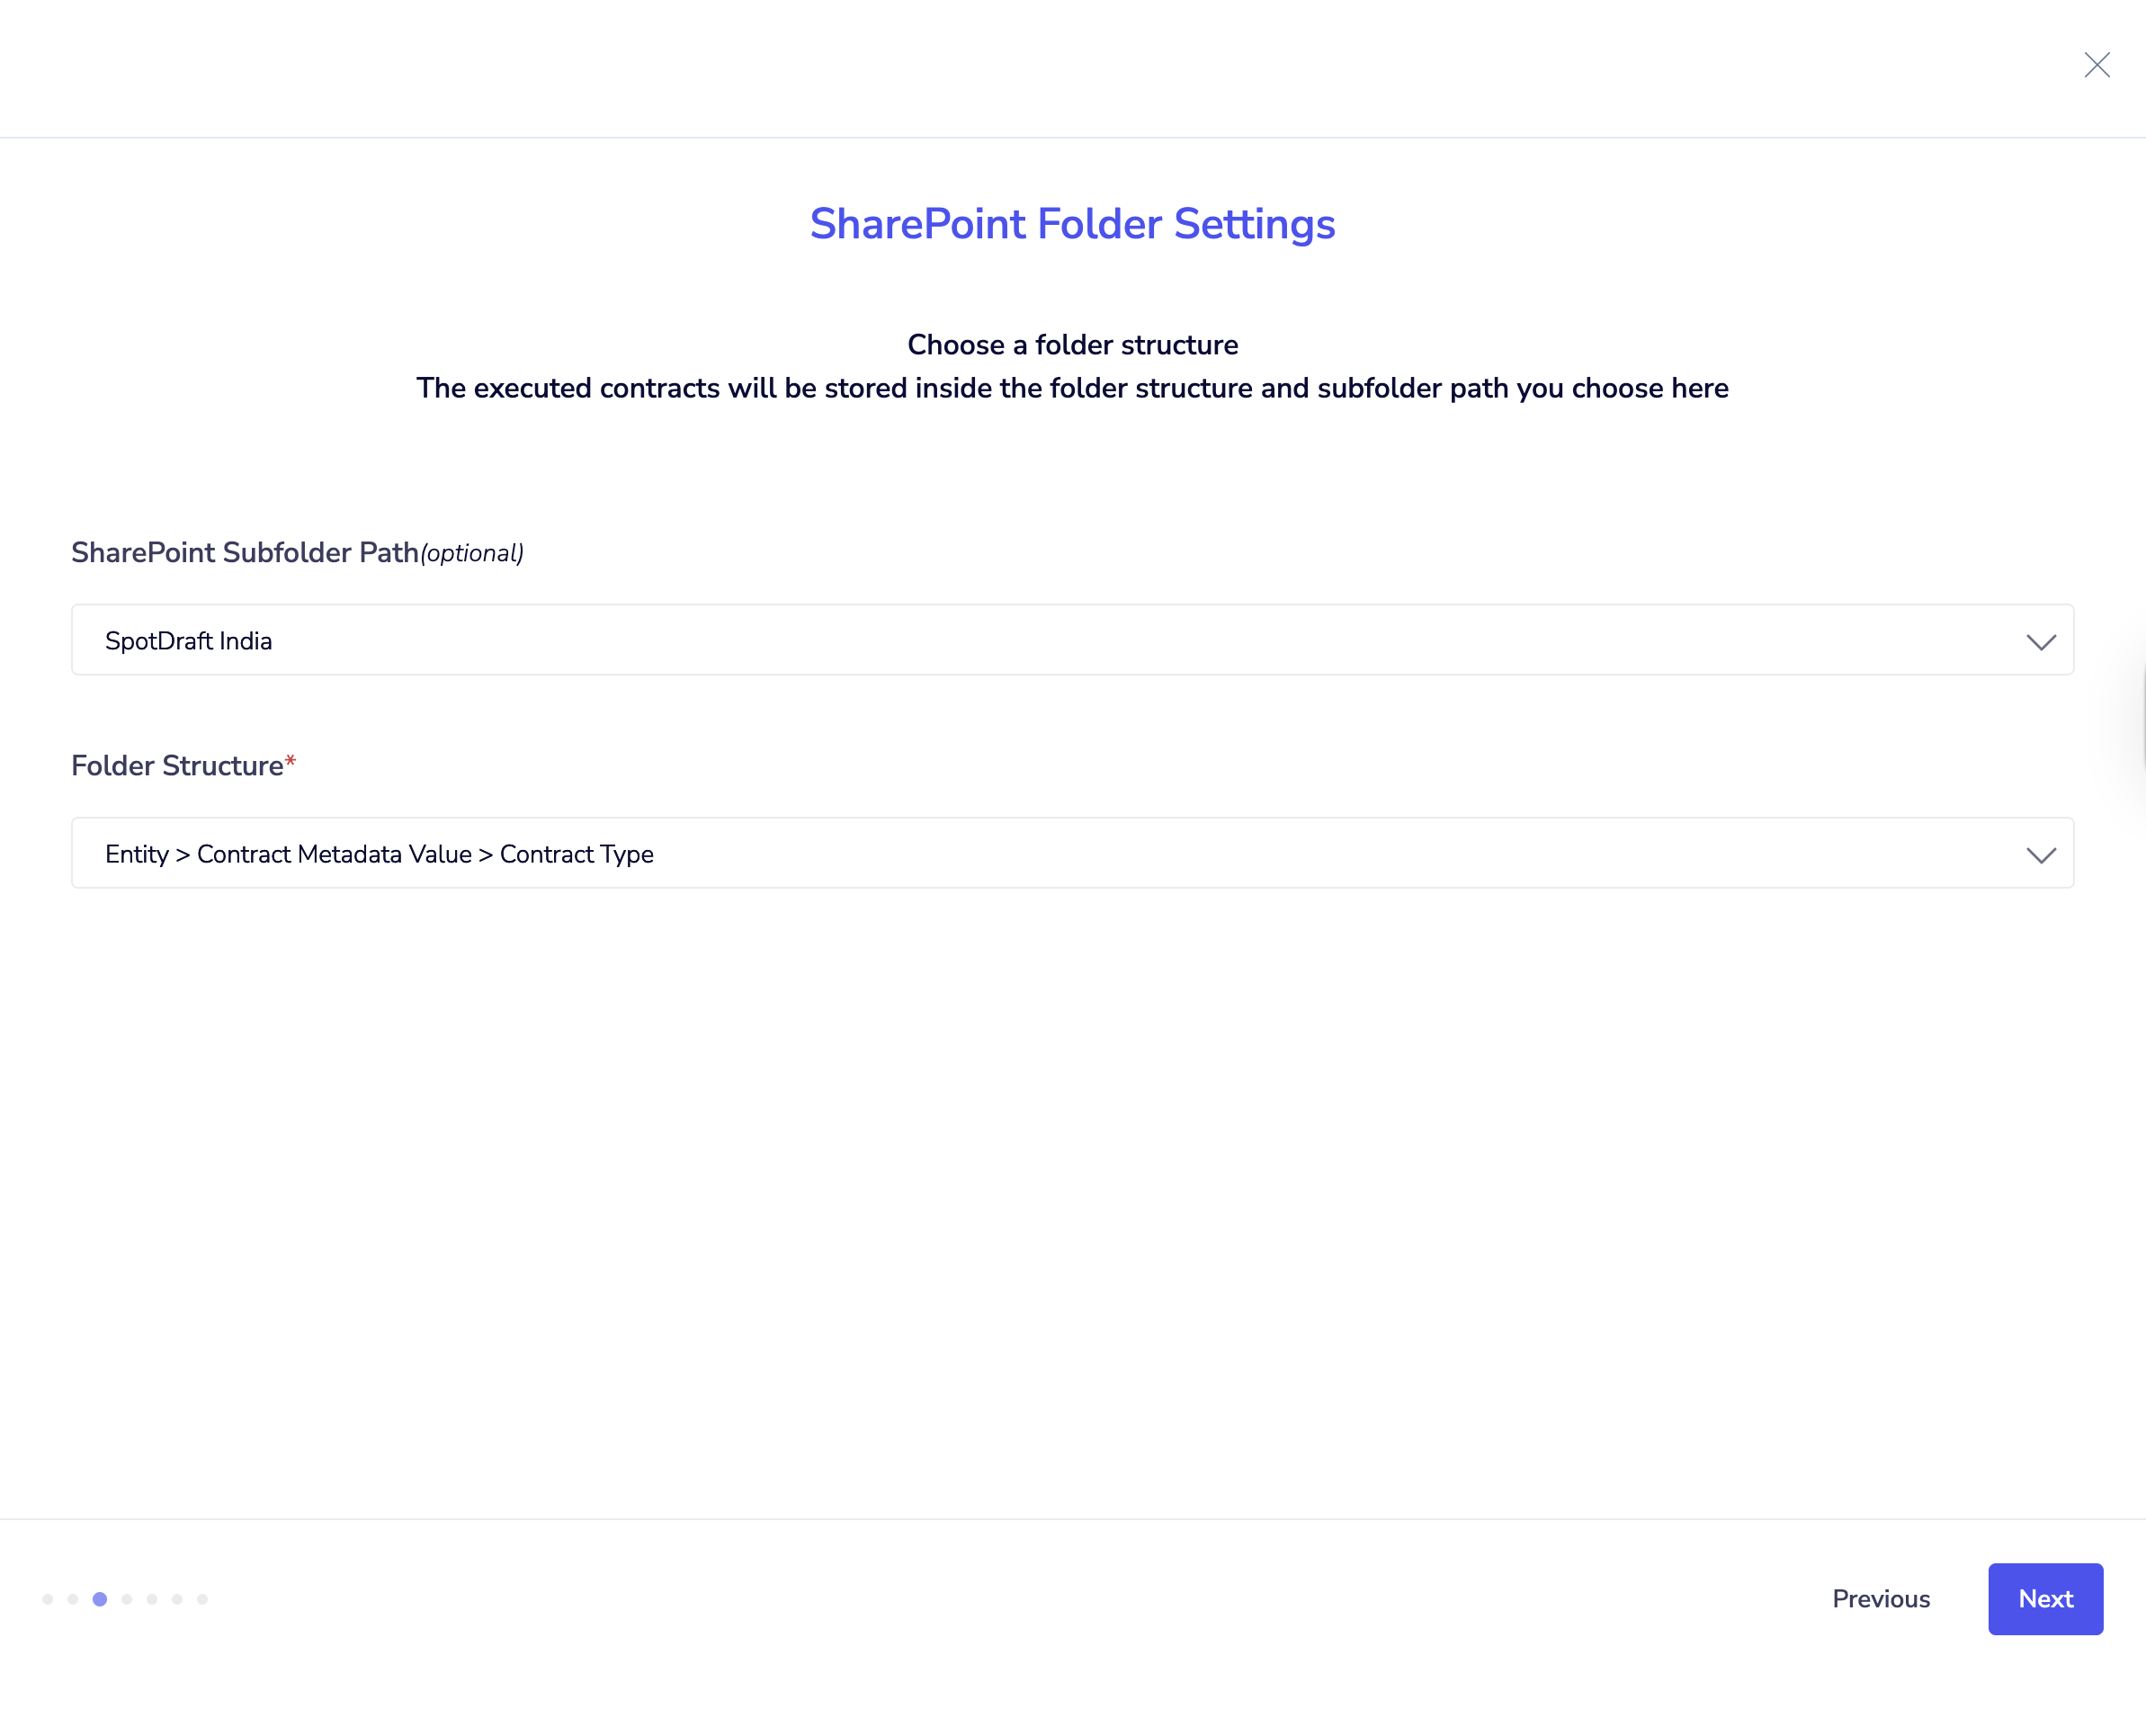
6. SharePoint subfolder path, Folder Structure where the contracts will be saved
6.1. Chose the SharePoint Subfolder path
6.2. Choose the Folder Structure from the options available
e.g. Parent folder > Contract Type > Counterparty (i.e. Signed Contracts > NDA > Acme Corp)
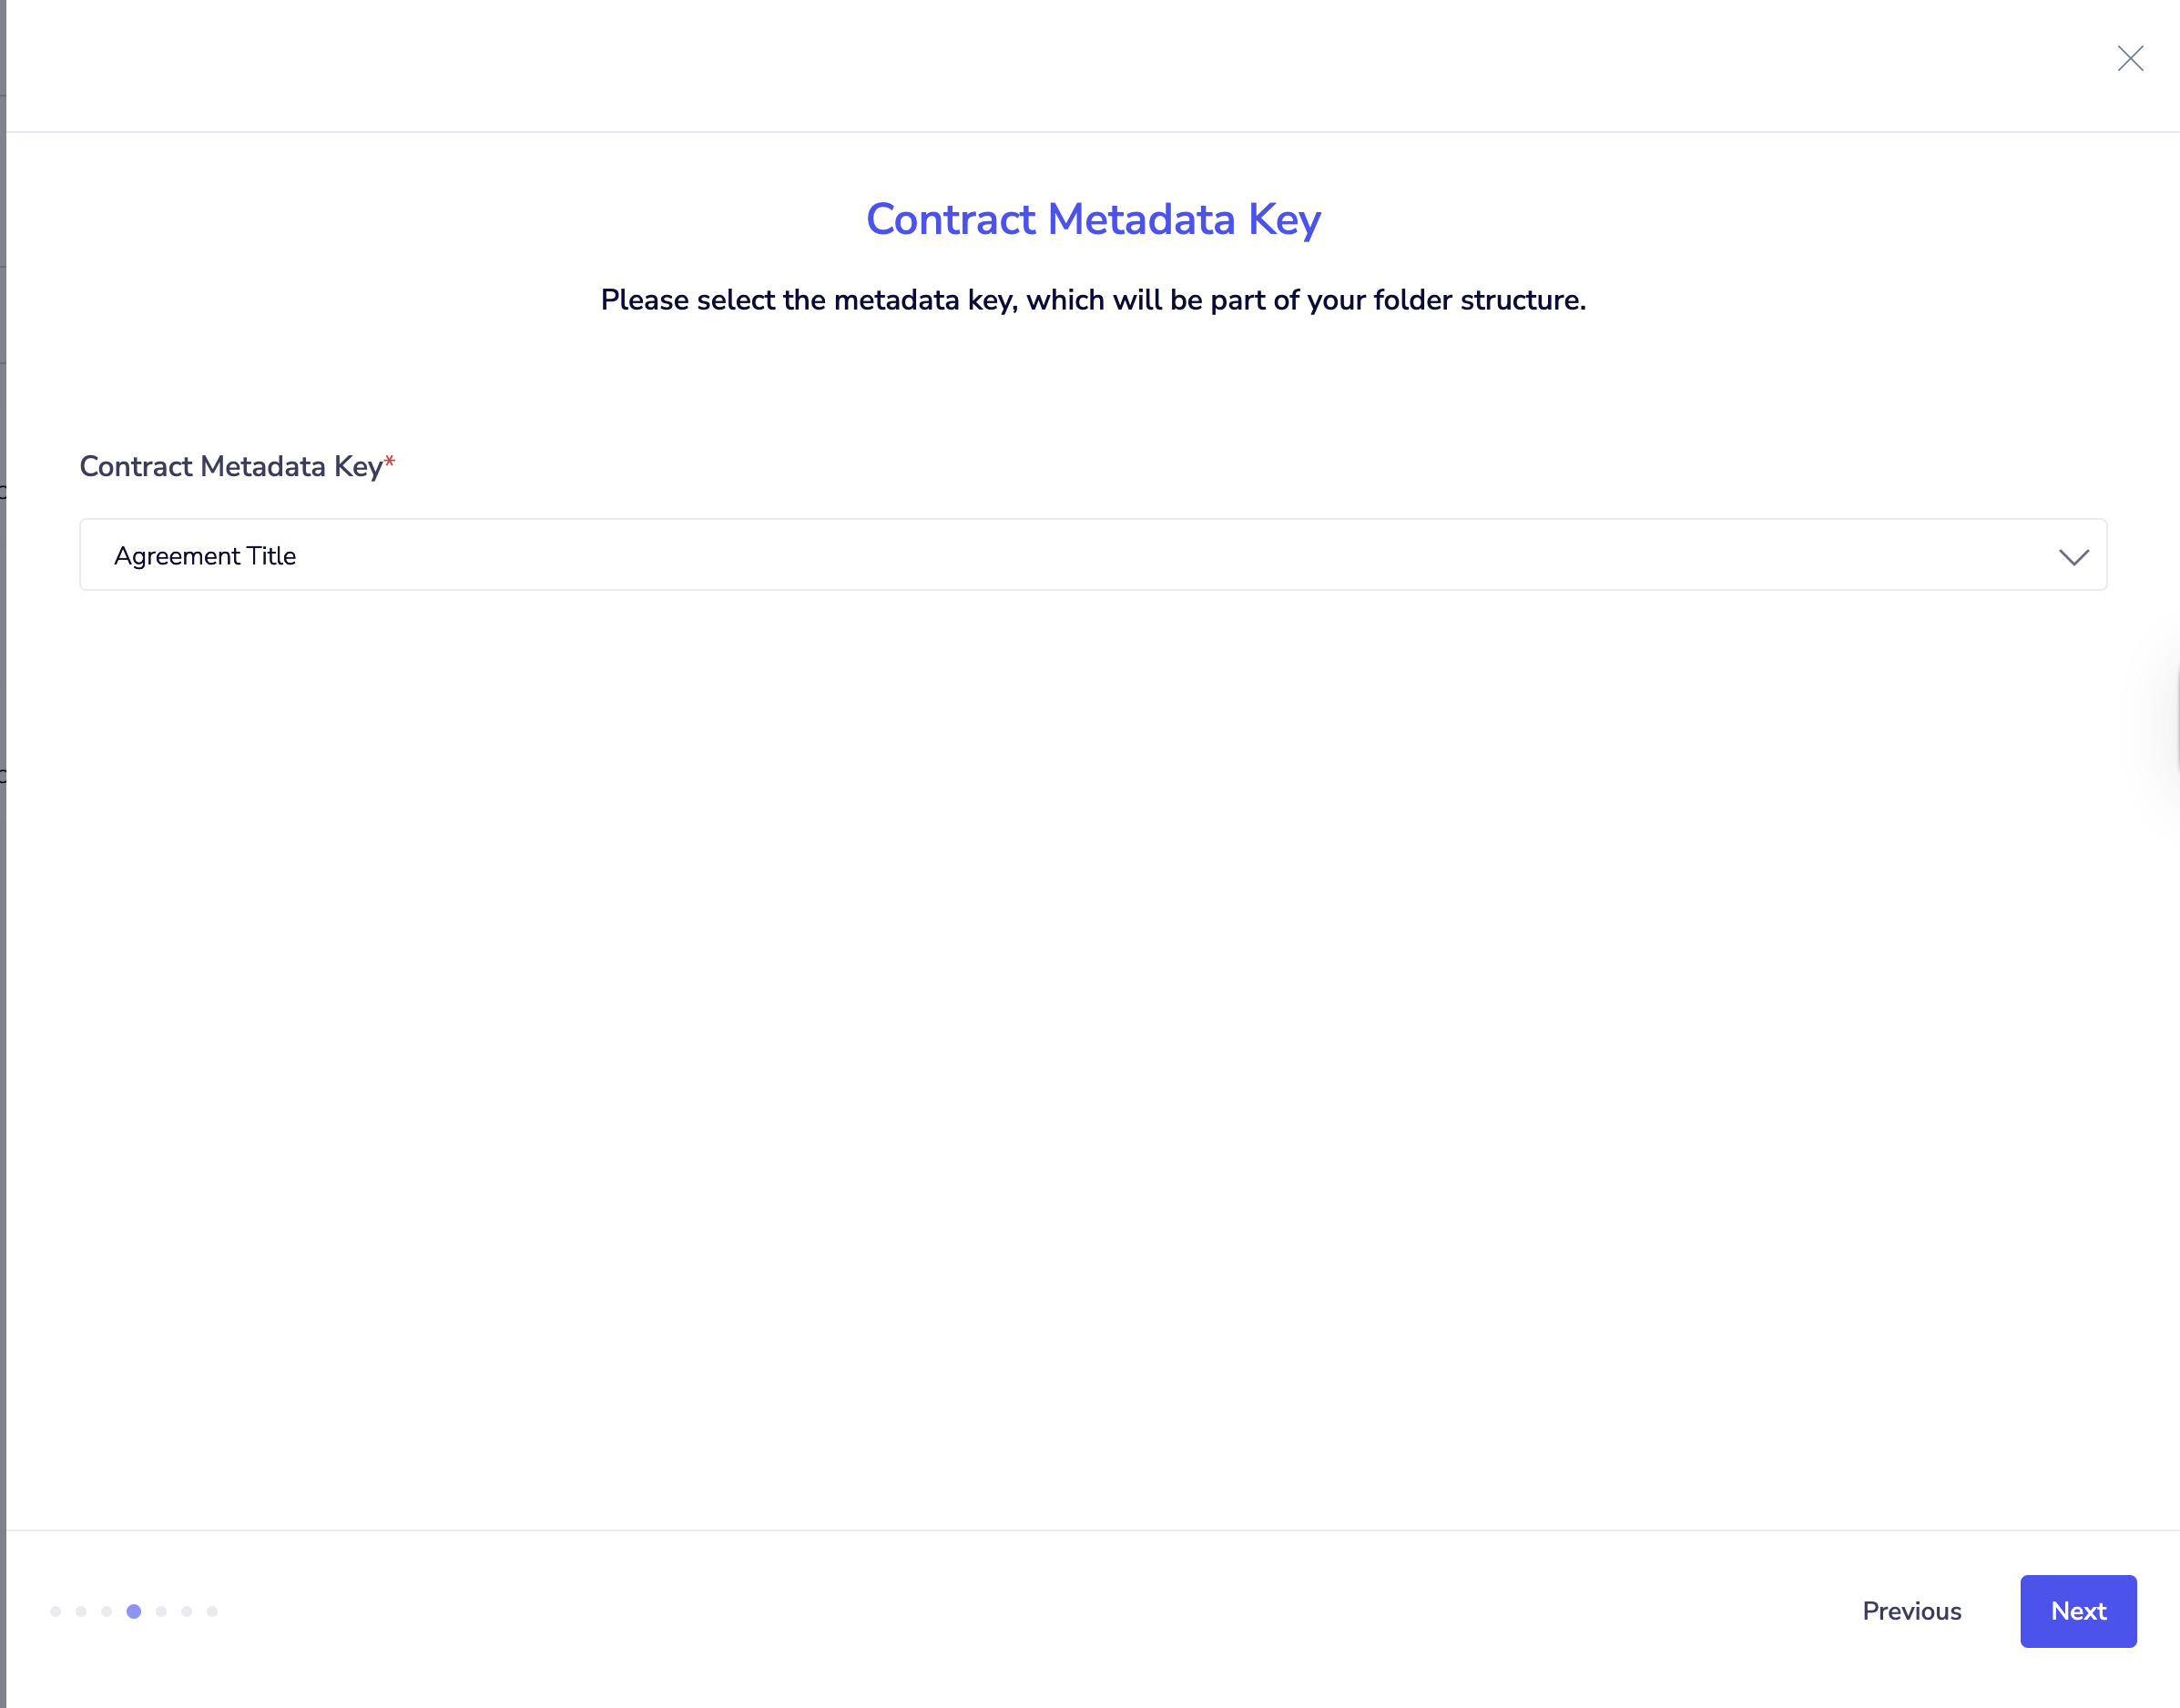
7. Choose the metadata key in case chosen in the folder structure
8. Define the contract filename format
Select the contract filename format by first choosing the contract label and then the date format using a hyphen between them.
e.g. Parent folder > Contract Type > Counterparty (i.e. Signed Contracts > NDA > Acme Corp)

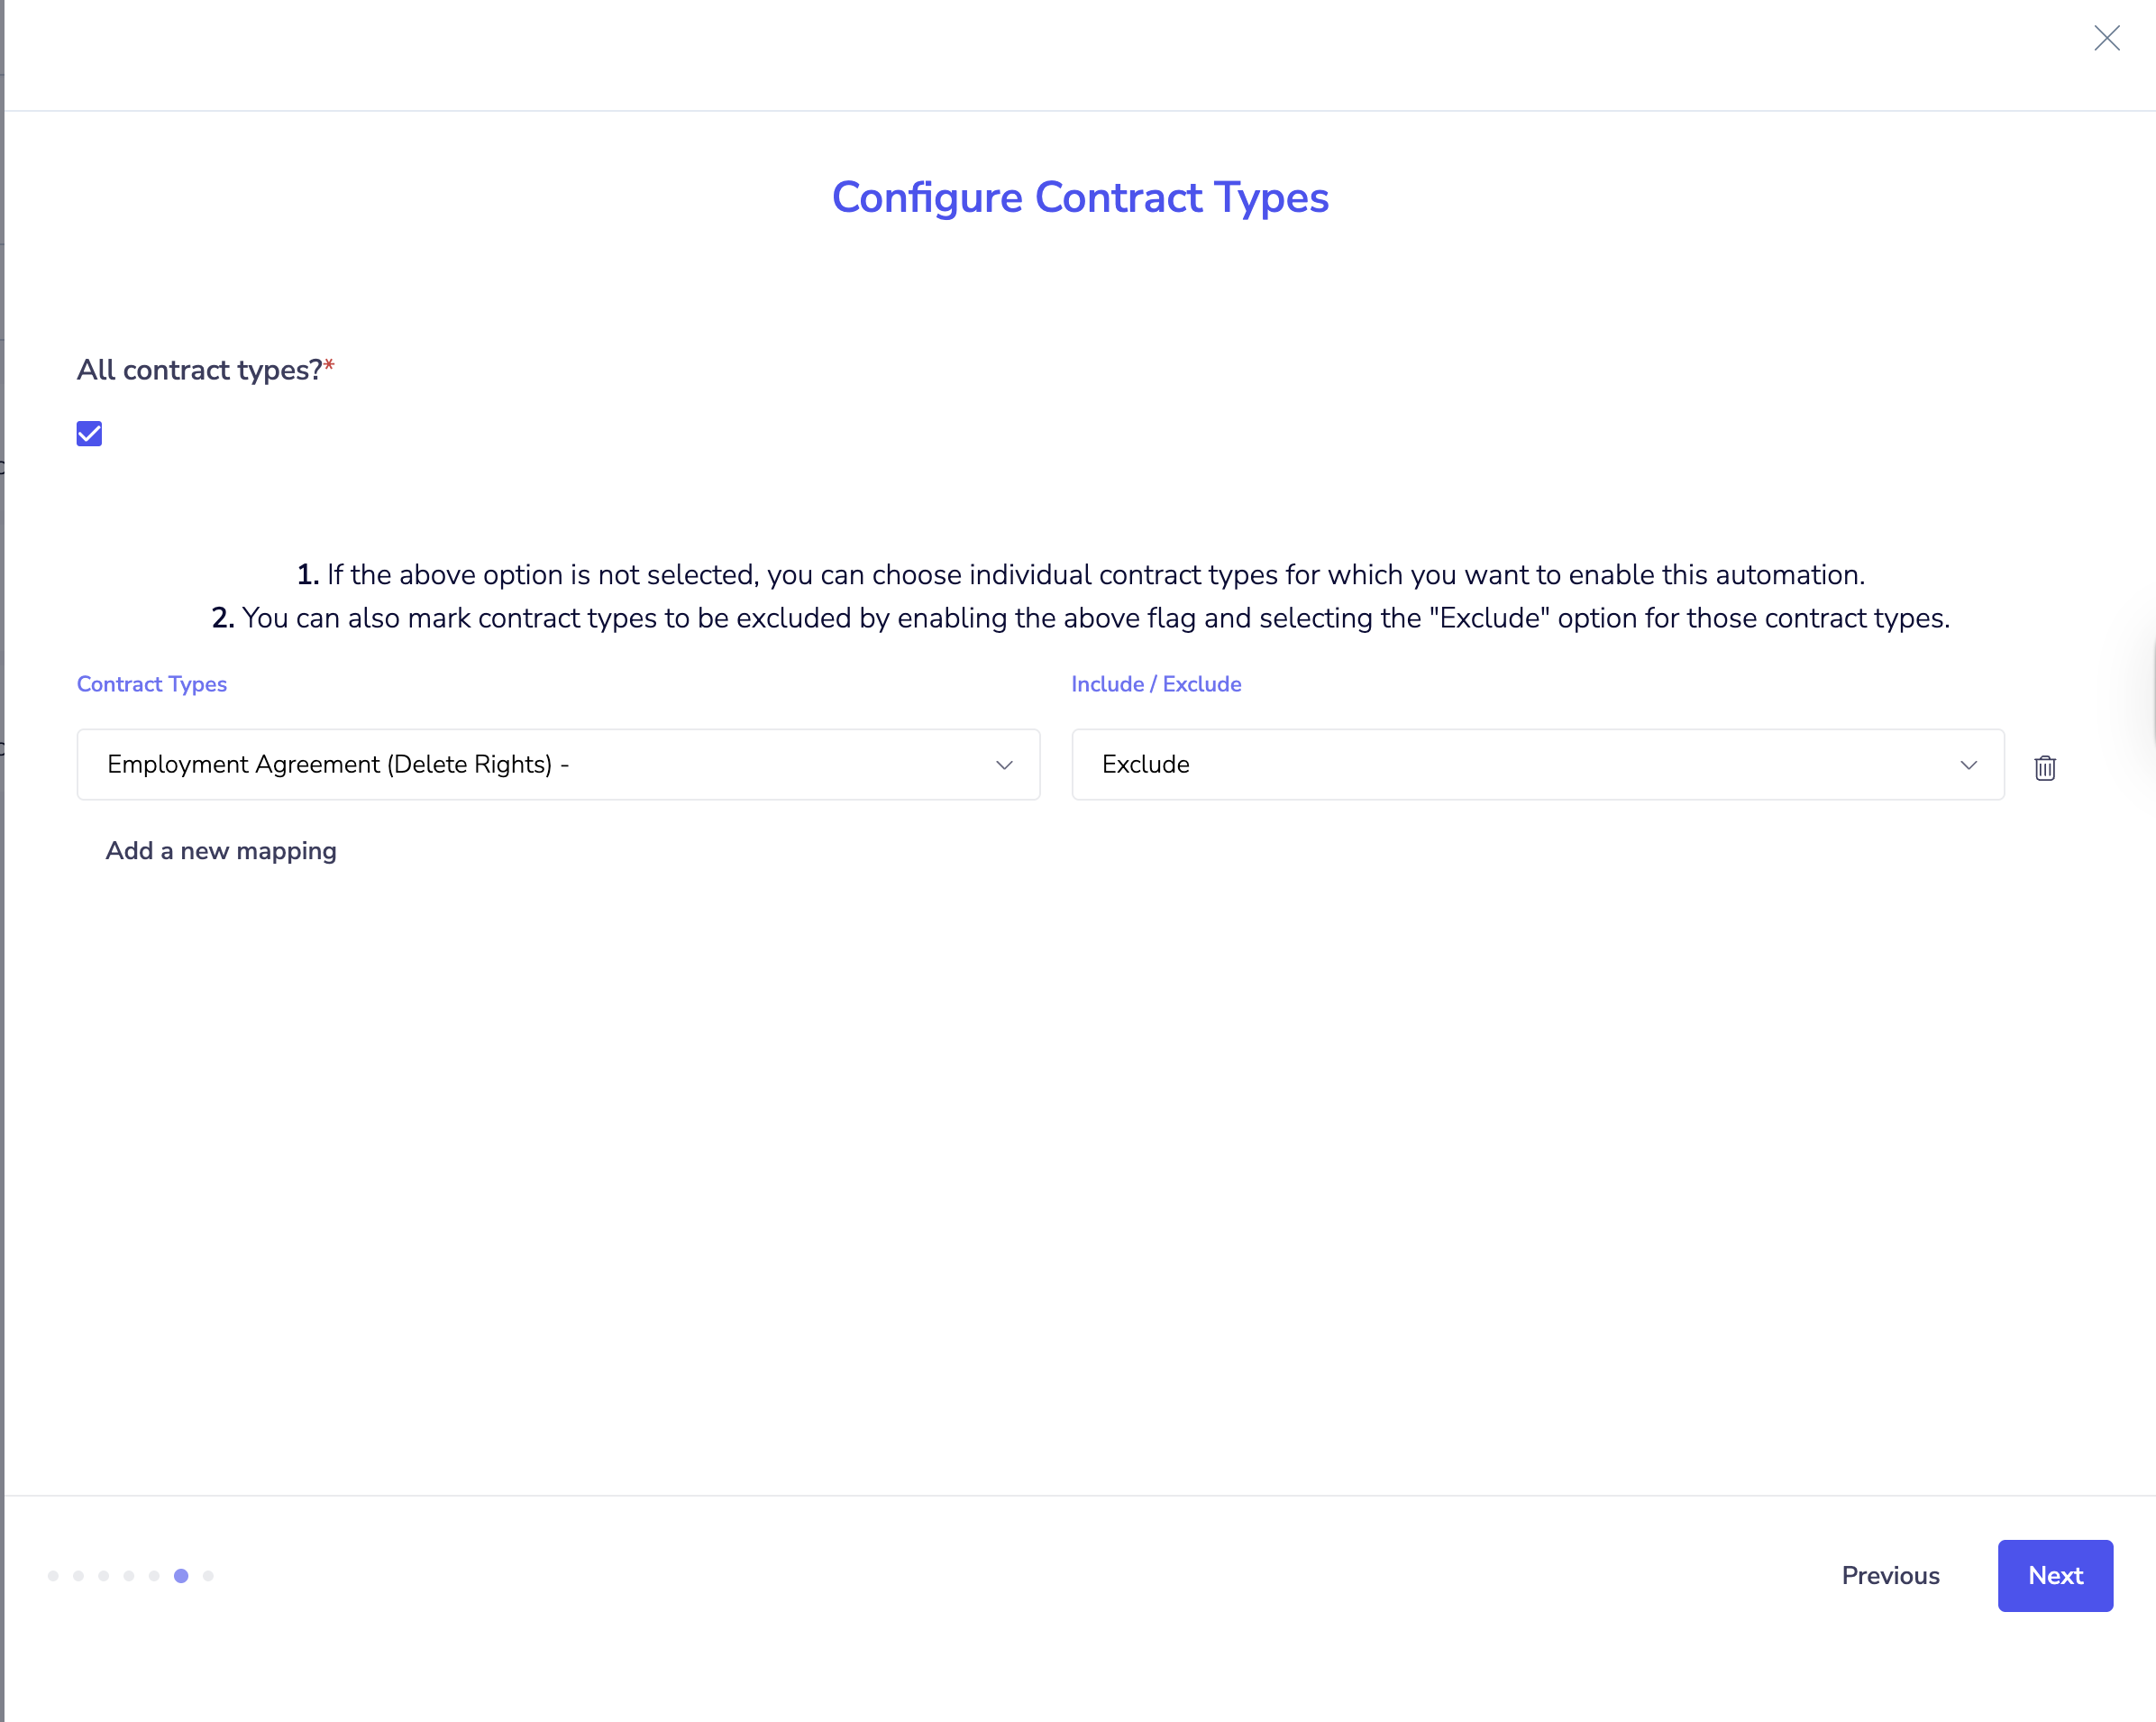
9. Configure Contract Types
9.1. Tick the checkbox labeled 'All contract types?' to upload all contracts executed from your SpotDraft workspace to SharePoint.
9.2. If checkbox is enabled then by default all contract types will be uploaded. You can exclude any of the contract type by clicking on 'Add a New Mapping' and selecting contract type and option as 'Exclude'
9.3. If you want specific control over which contracts to include & exclude, then uncheck the box and define your Include/Exlude preference by clicking on 'Add a New Mapping'
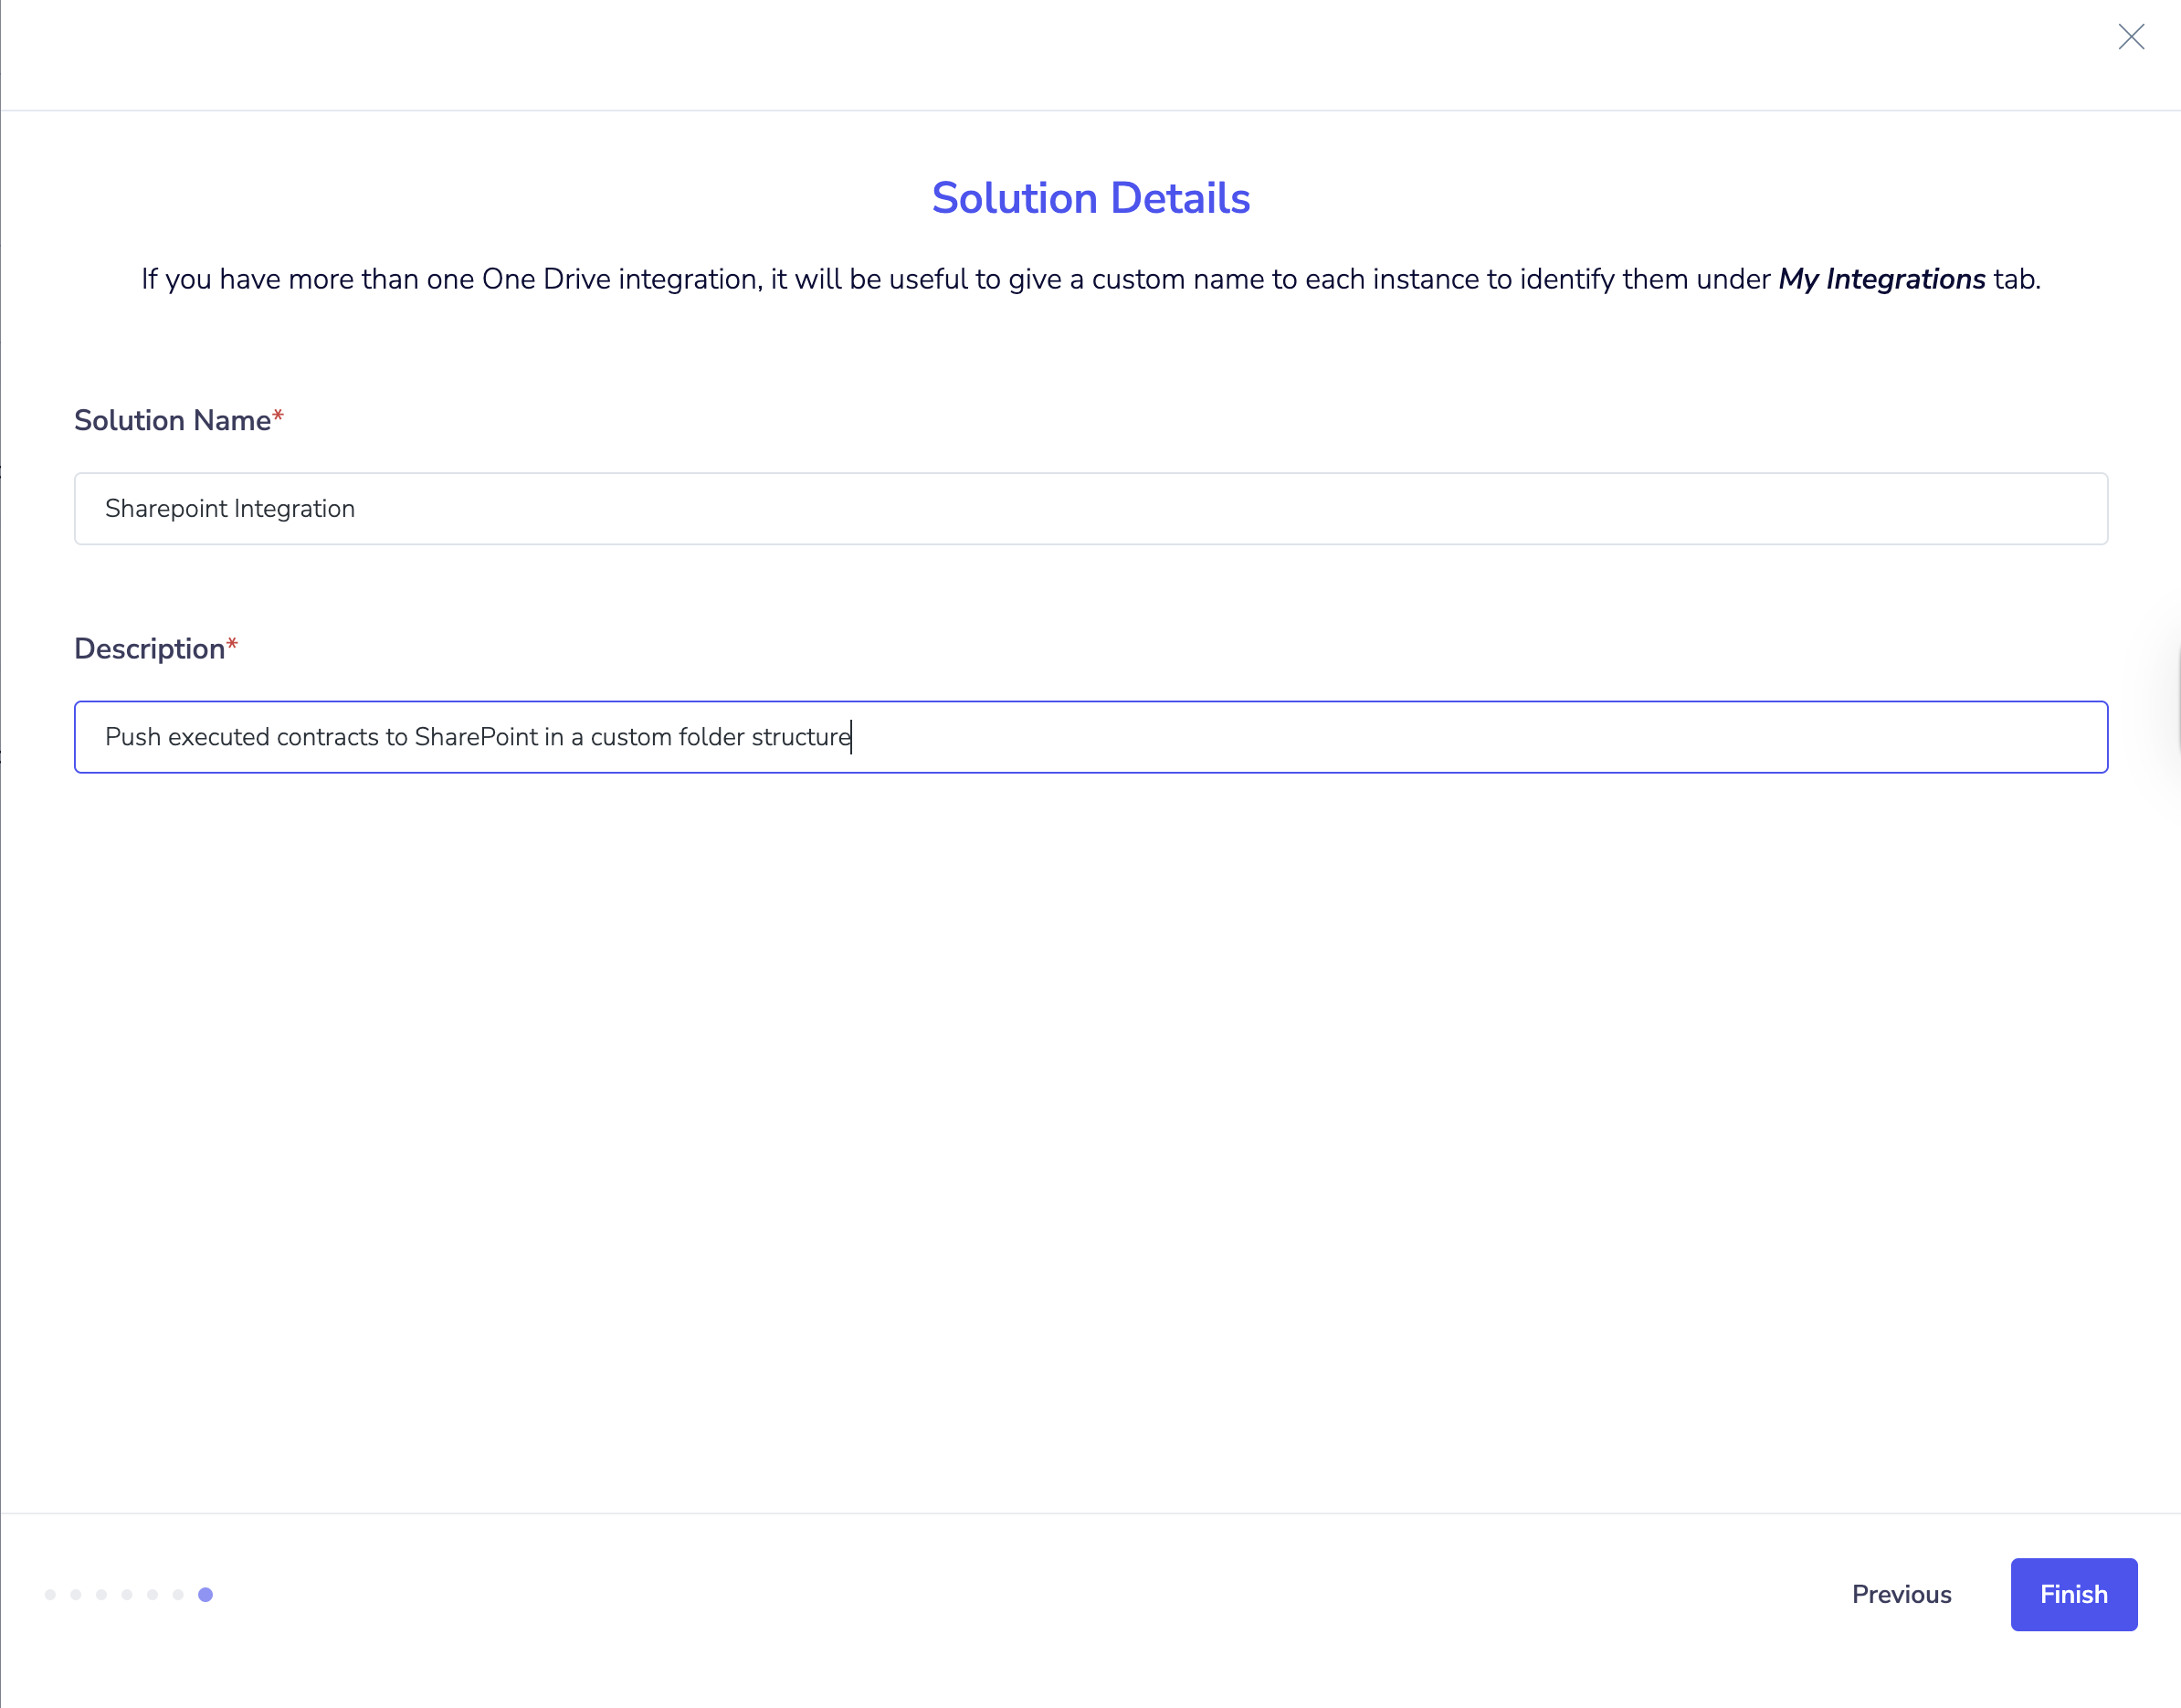
10. Set the Solution Details
10.1 - Enter the Name and Description or leave the defaults.
10.2 - Click Next
10.3. To complete the process, simply click the 'Connect' button.

🎉 Congratulations. The integration is now complete, and all of your executed contracts will automatically synchronize to SharePoint.
✅ Verification
Once you have installed the SharePoint integration, verifying it is straightforward:
1 - Execute a test contract within your SpotDraft workspace, completing all required fields and signatures.
2 - In SharePoint, navigate to the folder you designated for SpotDraft contracts, e.g., Signed Contracts.
3 - You should see a PDF version of the executed test contract you completed.
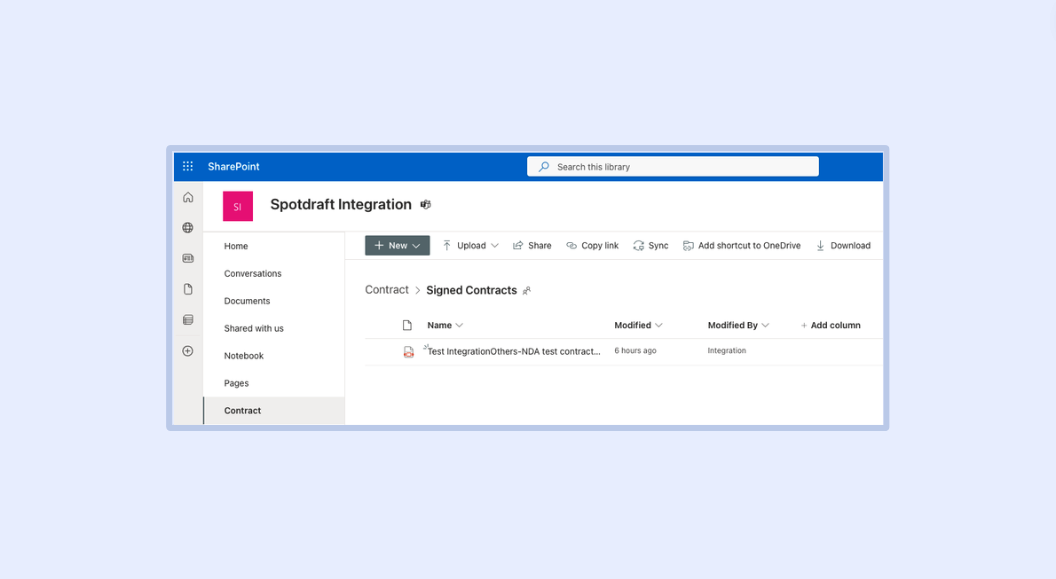
4 - Open the PDF and check that it is the expected fully executed test contract.
This validation process will confirm that your integration has been properly set up and that contracts are automatically saved to SharePoint in line with the configuration set.
Additional options will be visible post integration setup is completed:

Update - Make changes in any of the integration setup steps.
Disconnect - Temporarily stop sending files from SpotDraft to SharePoint.
Delete - Permanently delete the integration from SpotDraft.
Limitations
One SharePoint Integration is supported per SpotDraft workspace.
Only PDF file format can be sent from SpotDraft to SharePoint.
This is one way integration where only SpotDraft can send files to SharePoint. Any changes made in the uploaded file on SharePoint will not reflect back in SpotDraft.
As of now there are no alerts for successful or failed document upload to SharePoint. Please make sure to keep an eye on SharePoint files to avoid any integration failures.
💬 FAQs
Q: What is the maximum supported file size that can be uploaded?
A: Currently, we support a maximum file size of 6MB.
Q: I don't see contracts in my SharePoint folder.
A: Check that the Site, Drive, and File Path are correct.
Q: Can I use special characters in filenames?
A: No, they will be removed per SharePoint conventions.
Q: What permissions are required for the account?
A: The account will need read/write permissions to add files to the folder.
🏁 Conclusion
With the SharePoint integration set up, you can now enjoy a smoother and more organized contract management process. Your team will save time spent on administrative tasks, and have confidence that executed agreements are safely stored and accessible.
👉 Remember, should you encounter any challenges or require further assistance, our team is always ready to support you. We're committed to ensuring your continued success with this powerful integration.
📚 Additional Resources
Engaging Your Customer Success Manager for Maximum Value: Discover how to leverage your CSM's expertise to get the most out of your SpotDraft subscription.
Integration Guides for Cloud Storage: Explore our guides for integrating SpotDraft with OneDrive, Dropbox, Box, and Google Drive, providing insights into other cloud storage integrations available.