Customising Clickthrough Settings in SpotDraft
Last updated: March 9, 2026
This article explains how to edit the settings for your Clickthrough Agreements in SpotDraft. These settings determine how your Clickthrough Agreements are displayed to users and how user consent is collected.

Step-by-Step Guide:
Navigate to Clickthrough: In SpotDraft, go to the navigation item labeled "Clickthrough."
Select Your Packet: Locate the Clickthrough Packet you want to edit.
Click "Clickthrough Settings": Within the Clickthrough Packet, click the "Clickthrough Settings" button. This will open the settings panel.
Domains Accepted
All Domains
Selected Domains (Recommended)
Specify the domain (including any applicable subdomains) where the Clickthrough needs to be accepted
Edit "Type of Clickthrough":
Single Checkbox: Use this for Clickthrough Agreements where users only need to agree to agreements via Single Checkbox.
Multiple Checkboxes: Select this if your packet contains multiple Clickthrough Agreements and you want users to acknowledge each one separately. This option is particularly relevant for legal requirements in certain regions.
Inline: Choose this option if you prefer to collect consent through CTAs such as "Submit" or "Finish," where the click-through consent is embedded within the website. This option does not require users to click on a separate checkbox.
Edit the Clickthrough Text:
This is the text that users will see next to the checkbox or inline text.
You can customize the text to include a clear and concise statement about the Clickthrough Agreement.
Acceptance Email :
Turn on this toggle to send a copy of the terms that the user accepted during the Clickthrough. Note that all agreements which are part of the Clickthrough packet will be included in a single attached document.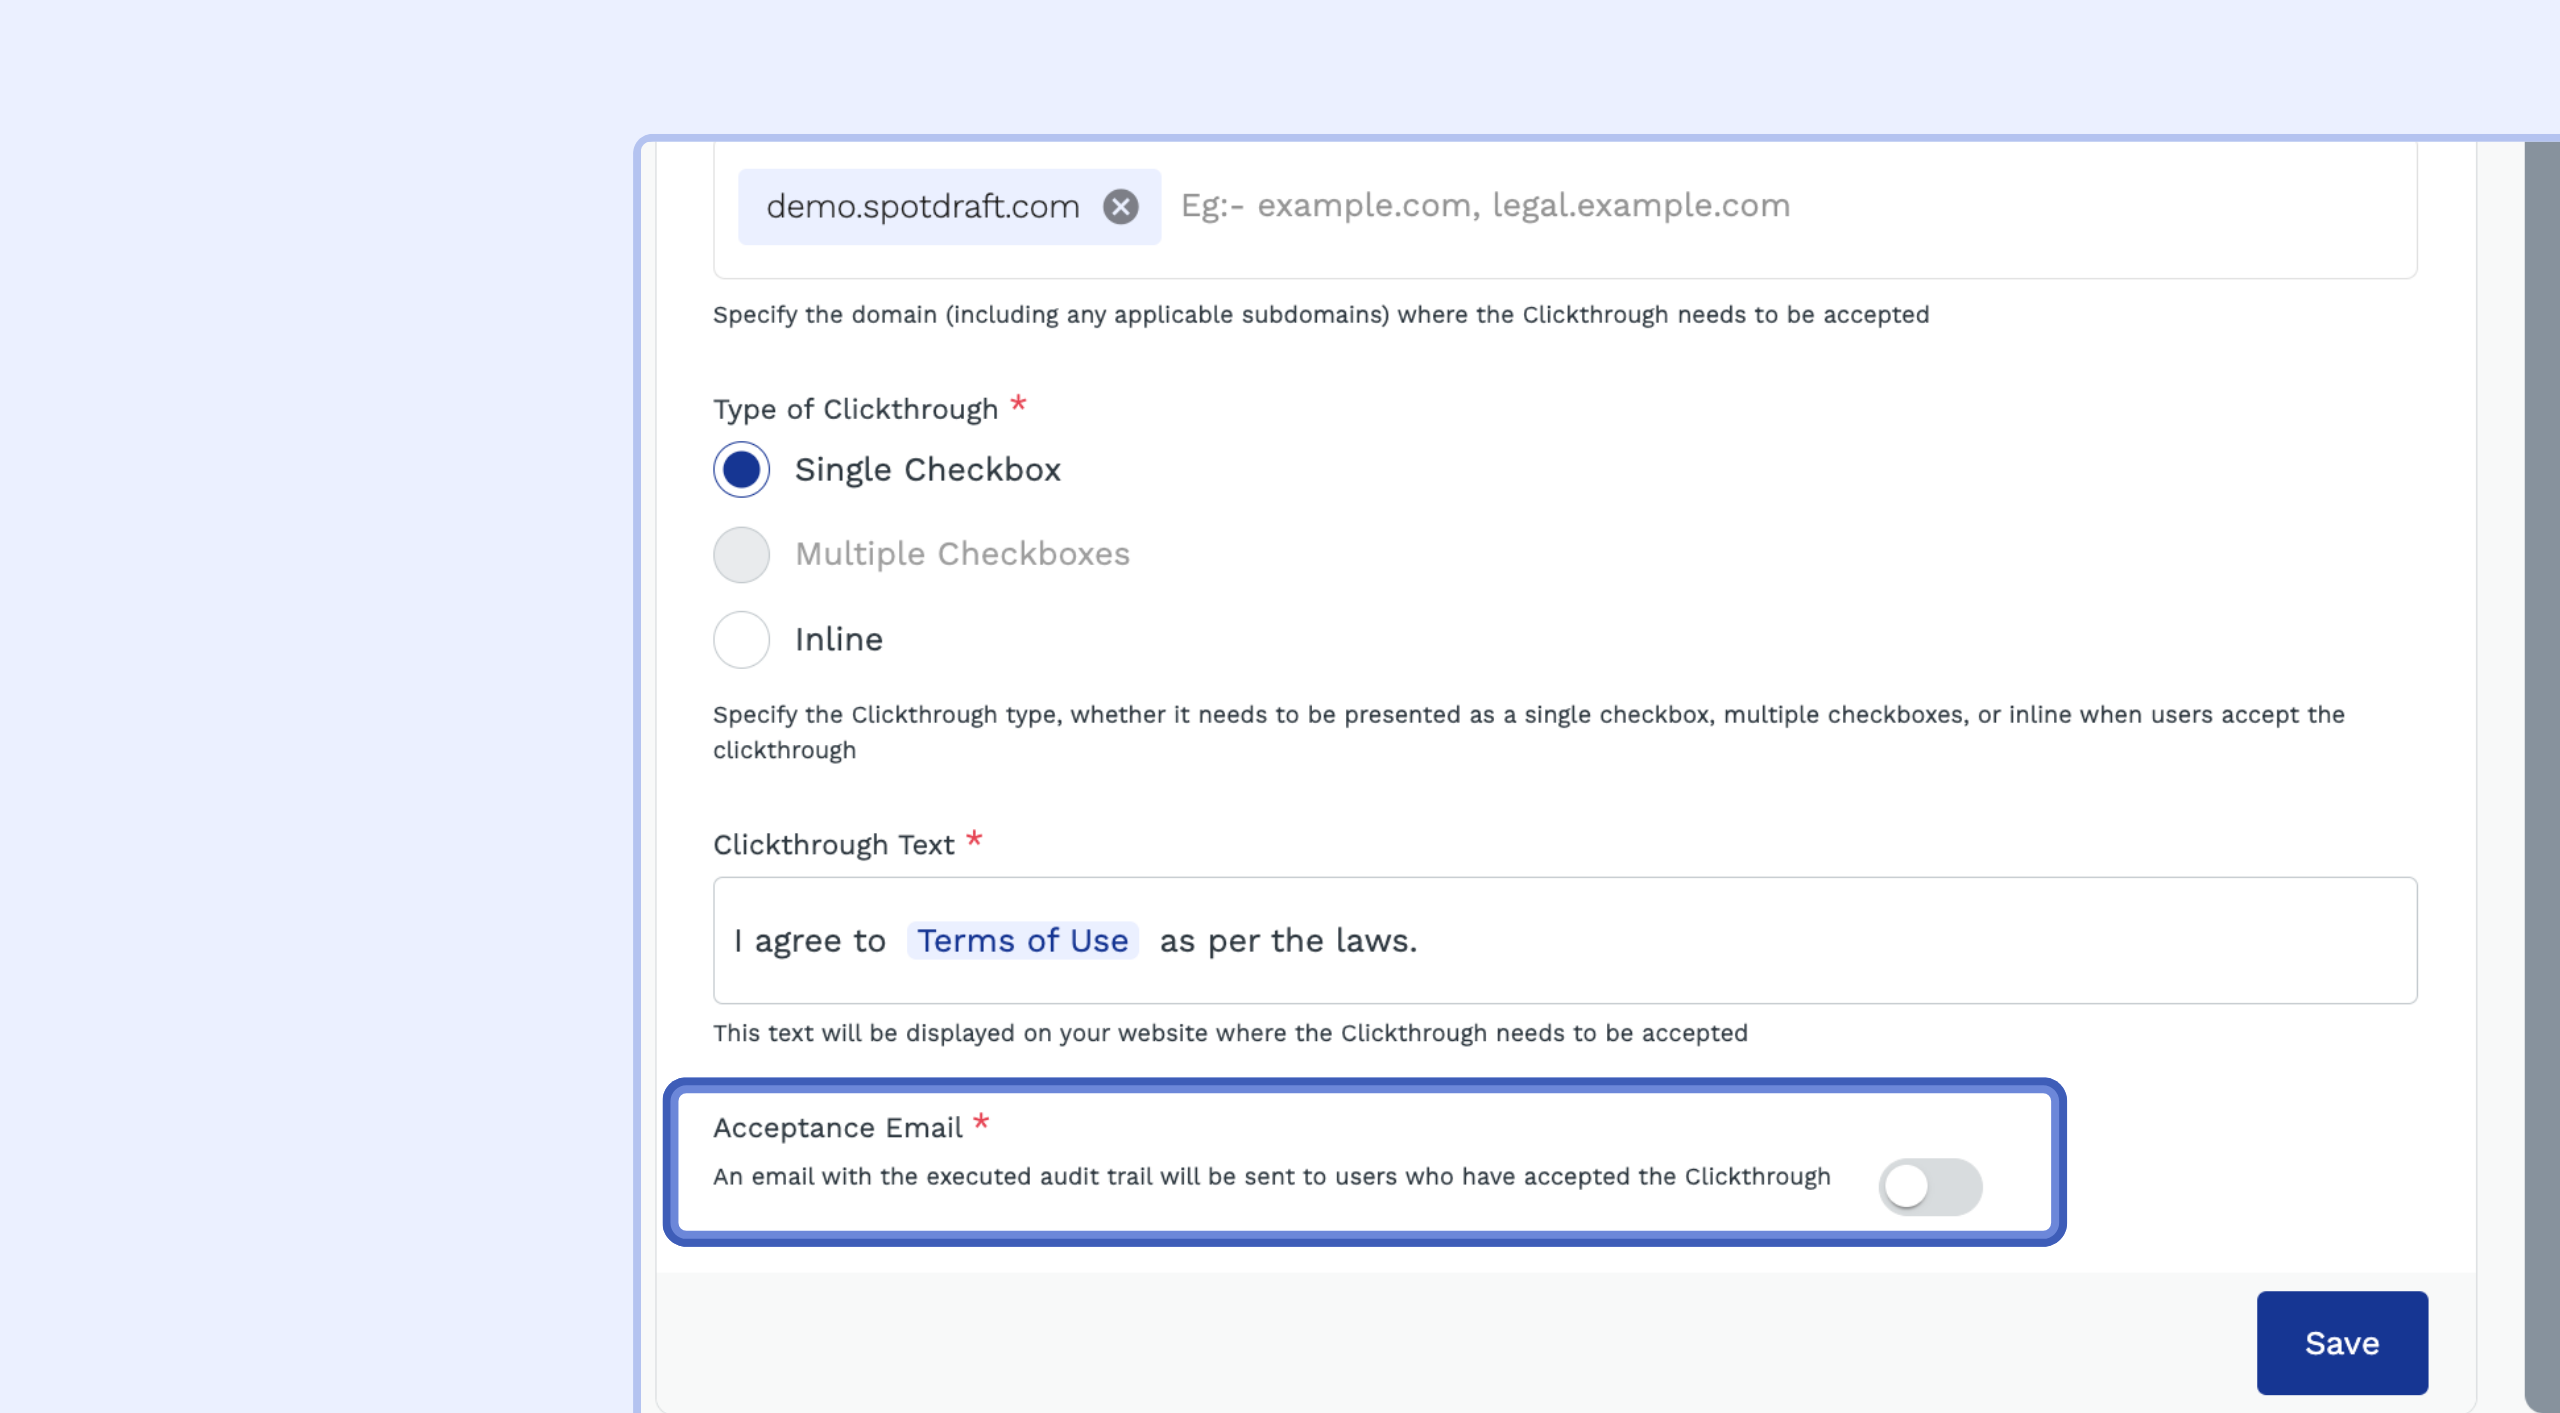
Save Your Changes: When you've made the desired changes, click the "Save" button. SpotDraft will automatically update your Clickthrough settings.
Actions Available:
Copy Code Snippet:
SpotDraft provides a code snippet you can use to embed your Clickthrough Agreement onto your website or platform.
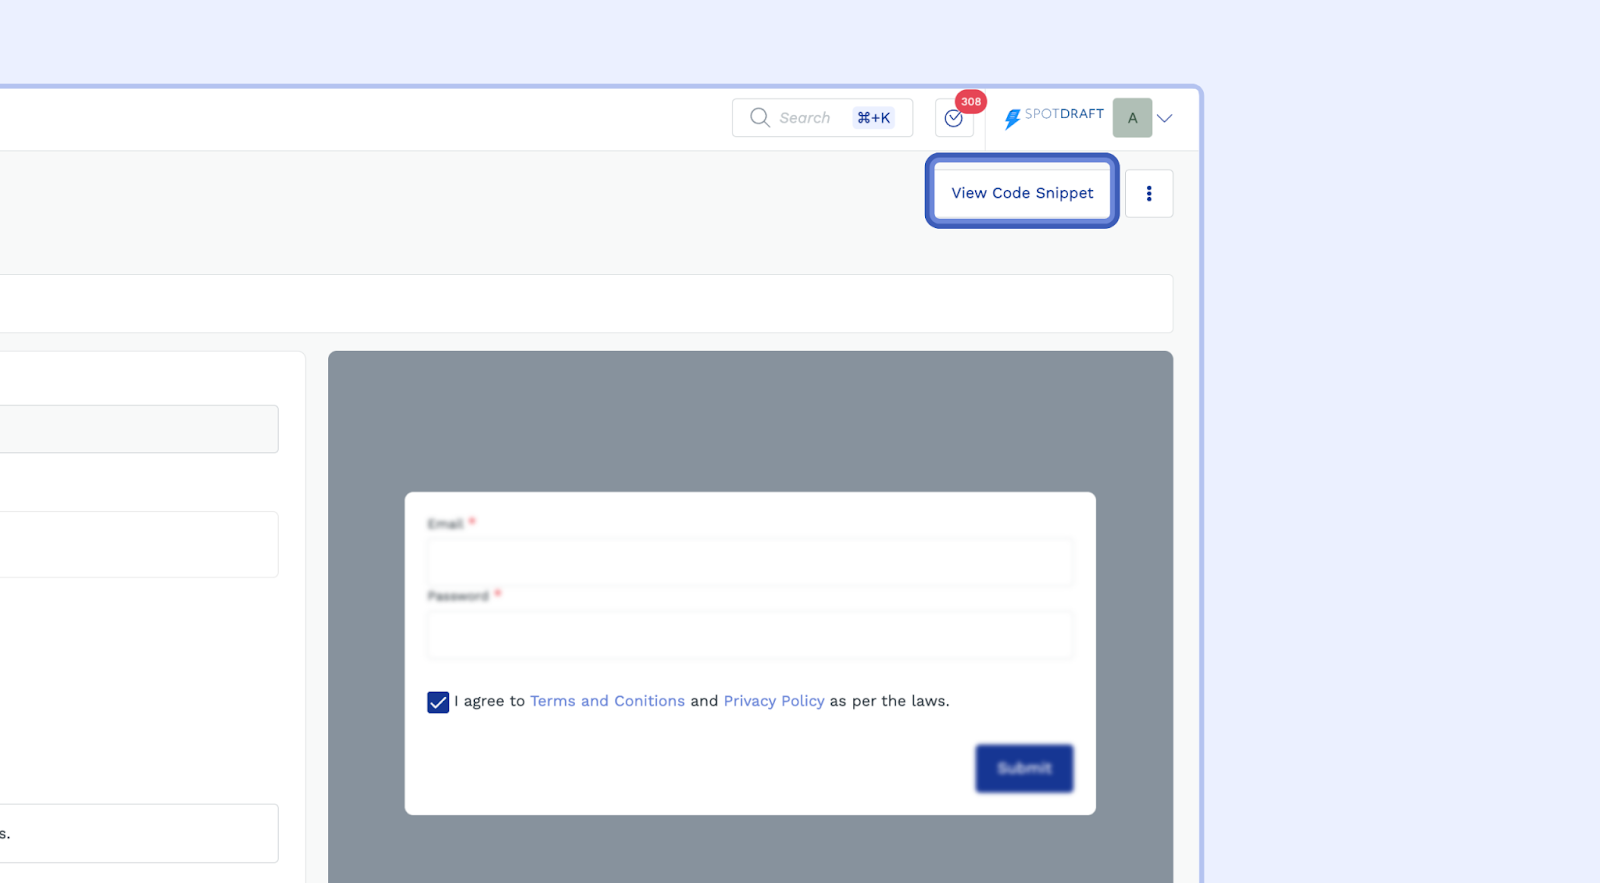
Access the Snippet: Click the "View Code Snippet" button within the Clickthrough settings panel.
Ensure Domain is Added: Before you embed the snippet, make sure you've added your website's domain to the "Supported Domains" section.
Copy the Code: The code snippet includes clear instructions. Copy the code and paste it onto your website's HTML.
Important Notes:
Supporting Domains: Make sure you've added the correct domains before you publish your Clickthrough Agreements.
Testing: After editing your Clickthrough settings, test them on the relevant domains to ensure they are working correctly.
Legal Requirements: Be sure to consult with legal professionals to ensure that your Clickthrough Agreements comply with all relevant laws and regulations.