Setting up and sharing an Express Contract
Last updated: May 11, 2026
Setting up an Express Contract
Welcome to our guide on setting up Express Contract Templates. These templates streamline the process of sending pre-signed, non-negotiable contracts to multiple parties. Let's get started!
Step 1: Select the Workflow for which you want to create Express Contracts
Use the shortcut Cmd+K (Mac) or Ctrl+K (Windows) and type "Workflow Manager". Enter "Workflow Manager" and select the contract workflow you want to convert into an Express contract.
Alternatively, go to the sidebar menu and navigate to Manage > Workflow Manager
. Then, select the contract workflow you desire.
Note:
Only "Template workflow" types that are in the "Published" state can be converted into Express contracts.
You cannot create an Express Contract for contracts of the “Third-Party Paper Workflow” type.
Express Contracts are only compatible with SpotDraft Sign. If your workflow uses third‑party e‑signature platforms like DocuSign or Aadhaar Sign, you cannot create Express Contracts for it. Switching the signing method from SpotDraft Sign to DocuSign will disable the Express Template feature, though existing workflows will not be impacted.
Step 2: Creating Express Contract templates for the selected contract workflow
Go to "Additional Options" and select "Express Contract"
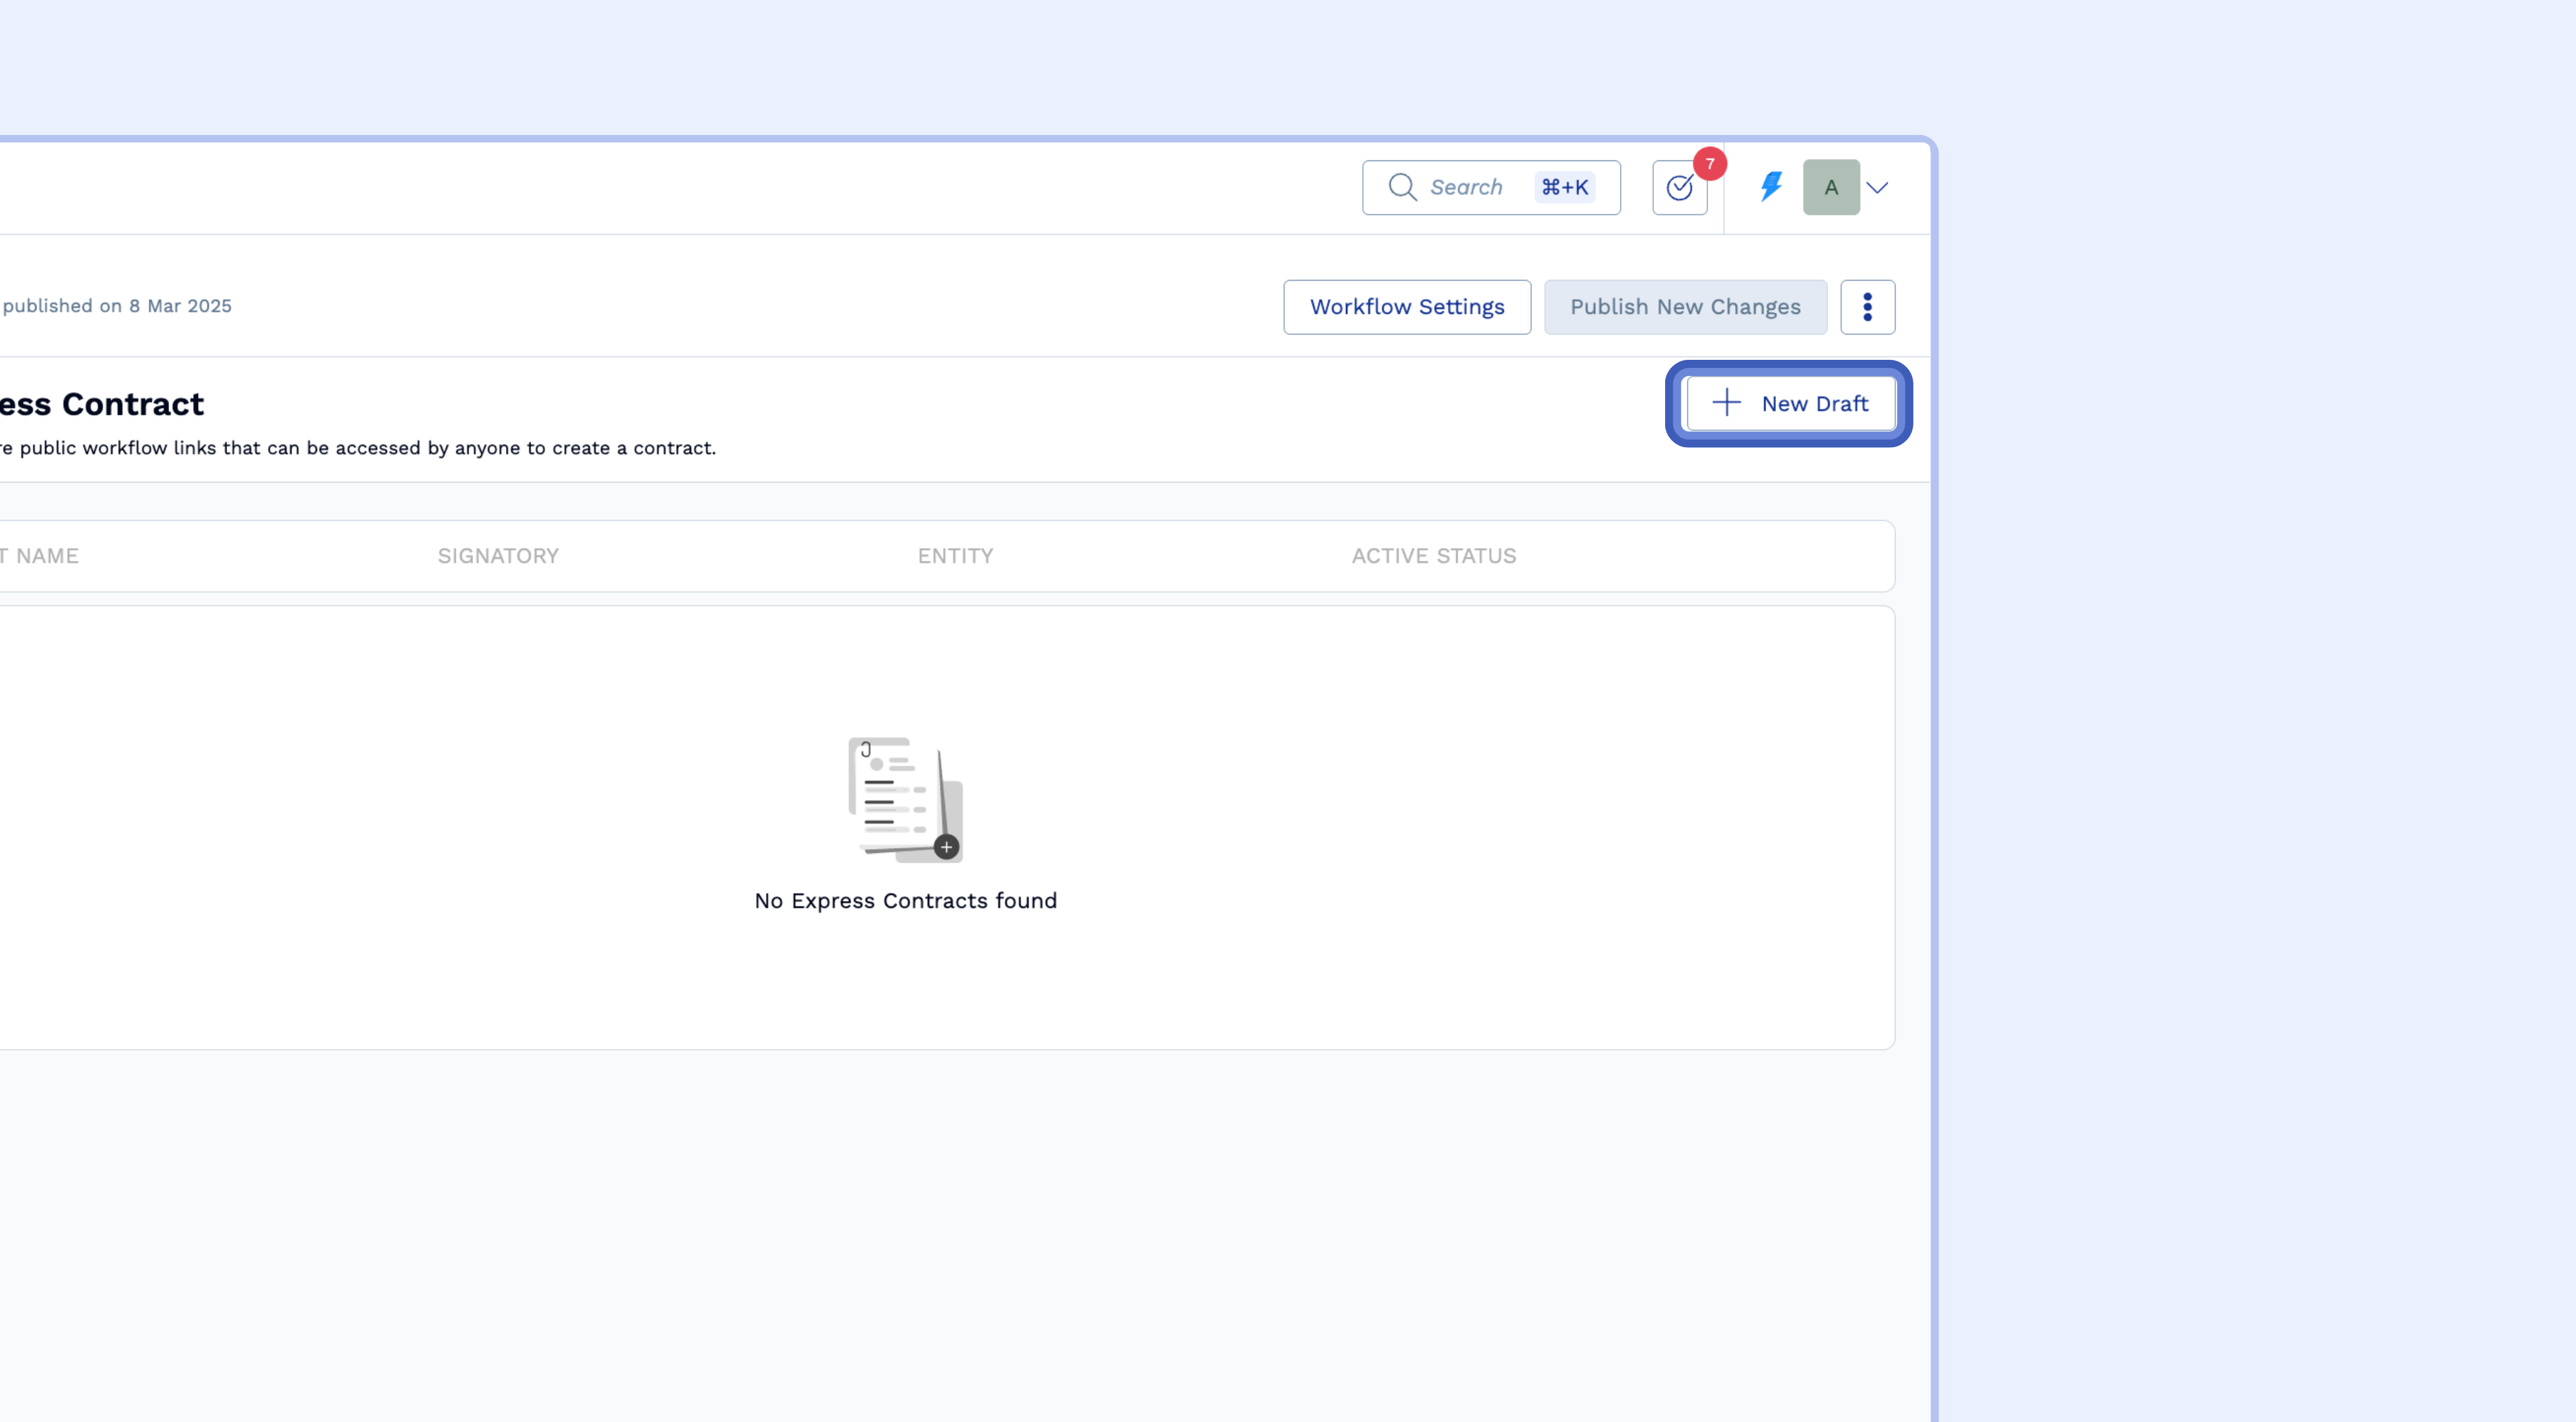
If there are any existing Express Templates for this Workflow, they will be displayed here.
To create a new Express Contract, click on "New Draft"
Fill in Party Information and other basic inputs from your end
Complete the required "Party Information".
You can enable "Auto-Sign" if you want the documents to be signed automatically when you send them to a Counterparty. If this option is disabled, the signatory will need to sign manually.
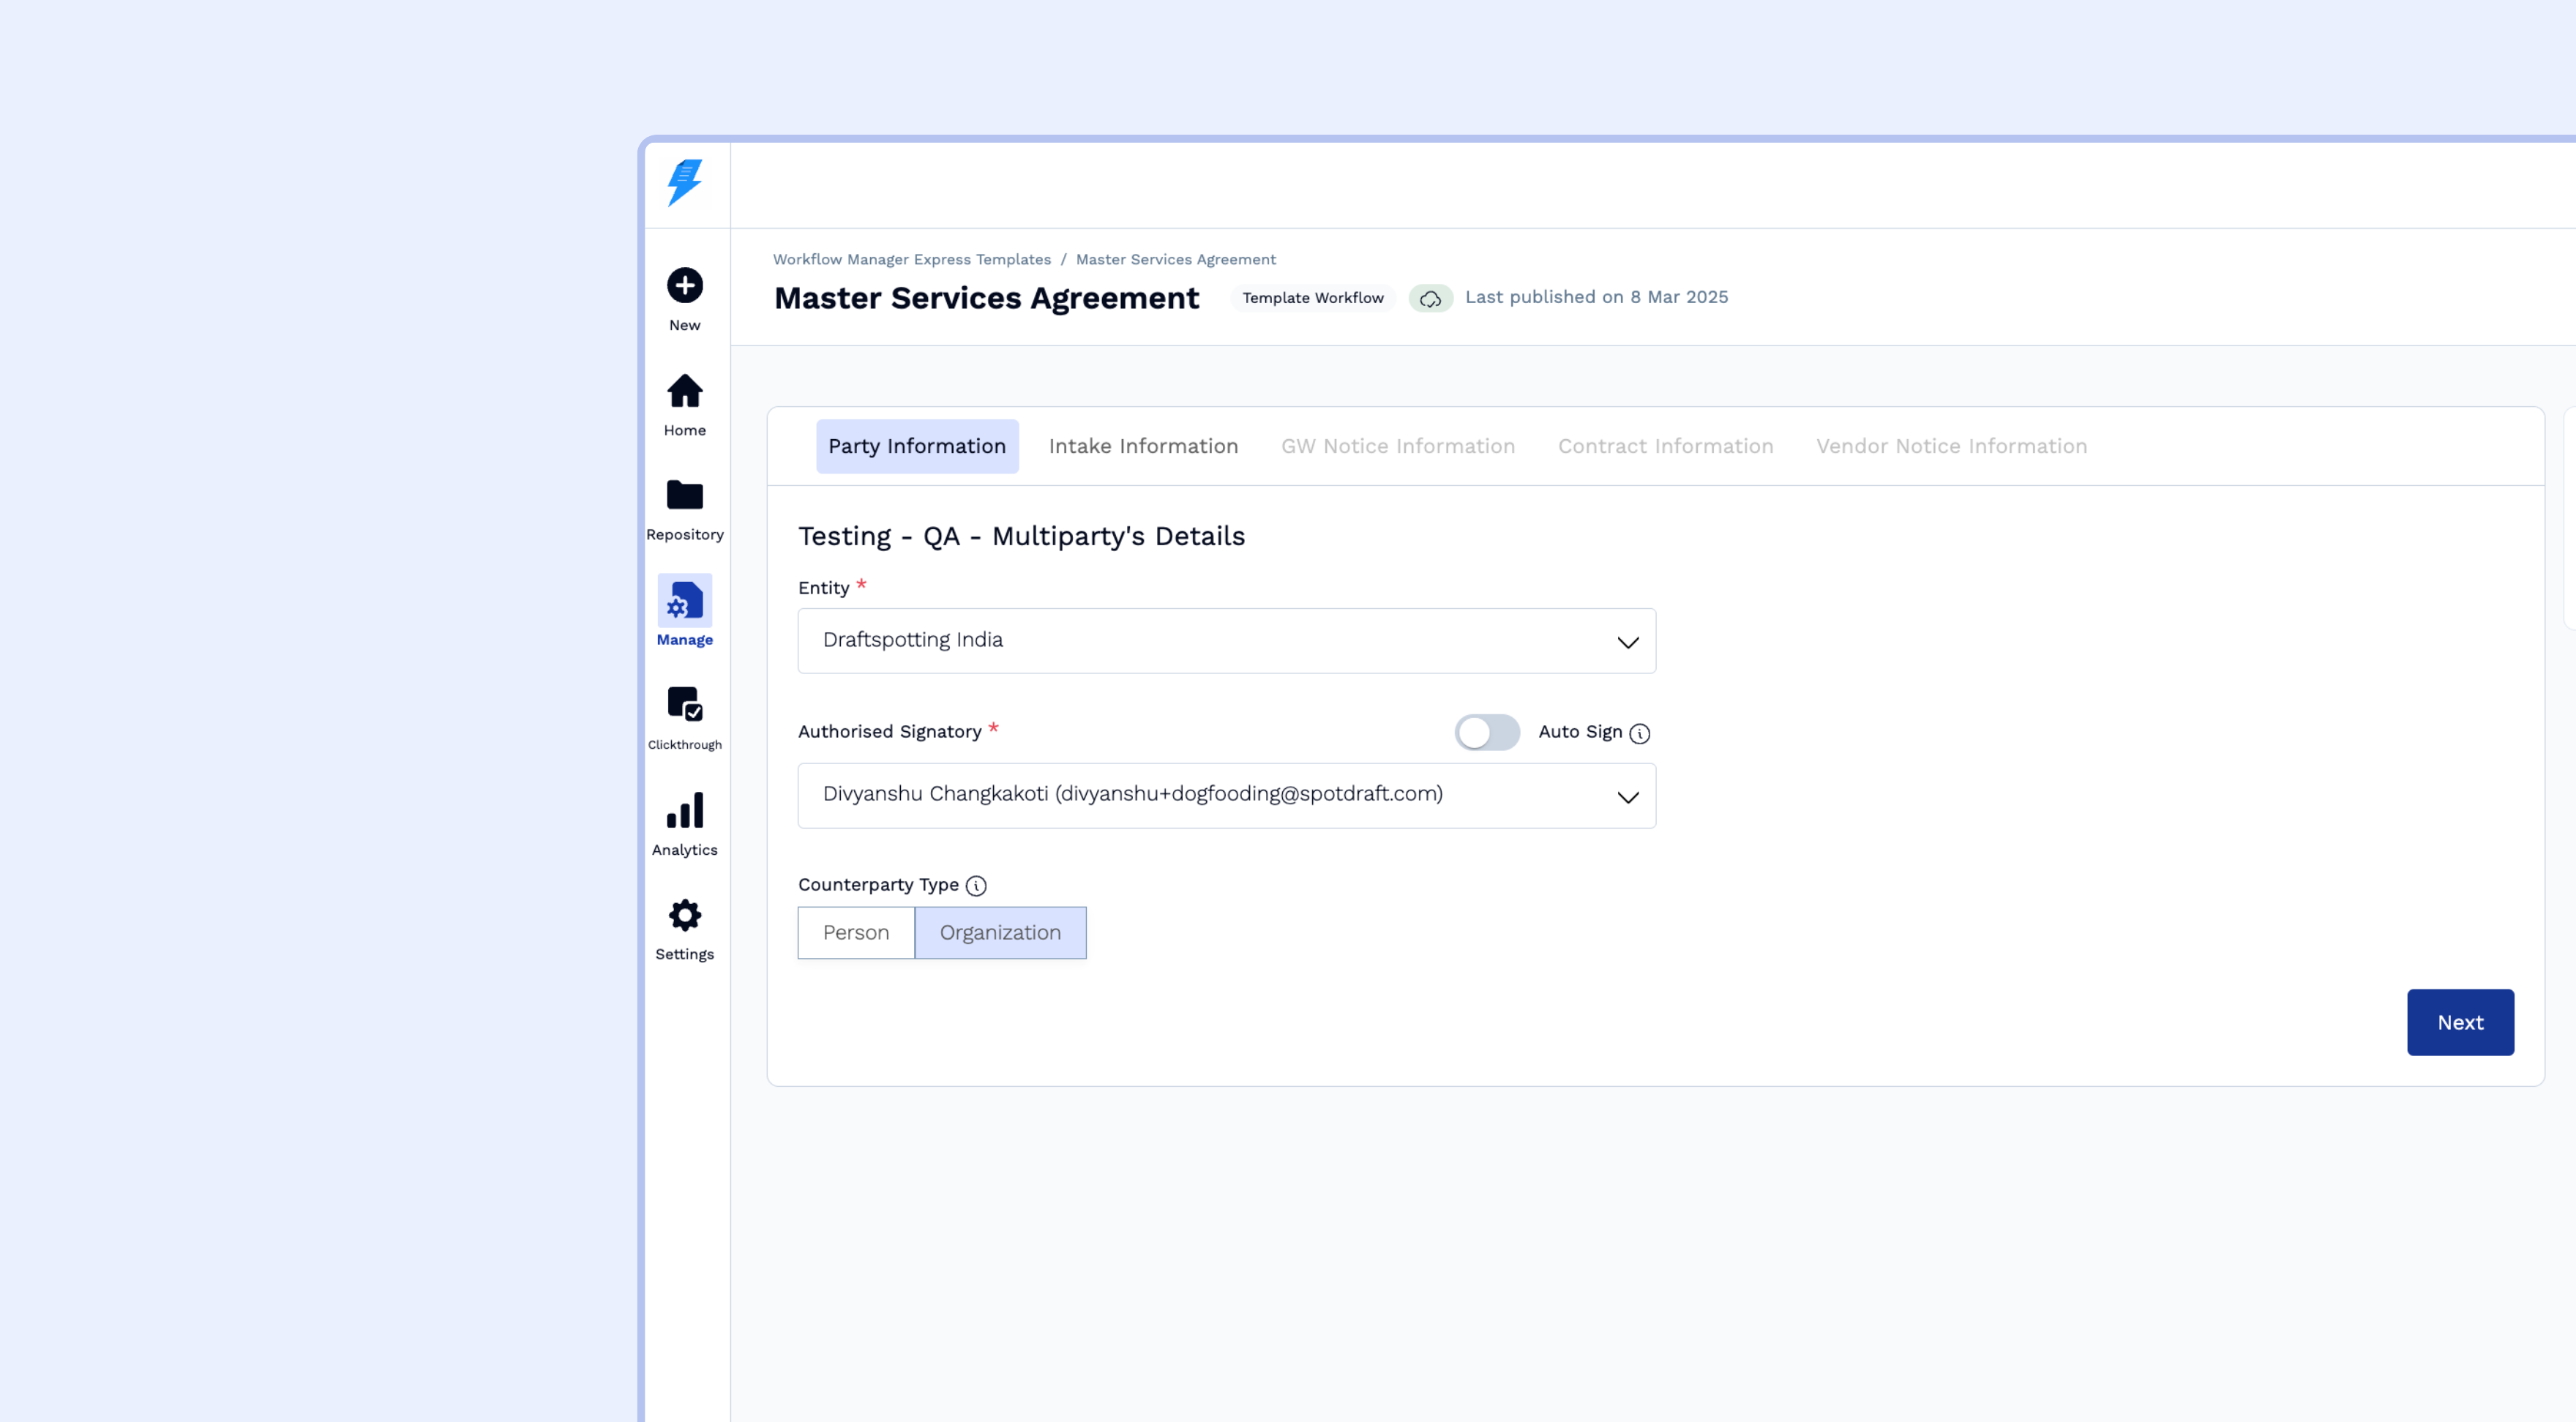
Specify whether the counterparty is an organization or an individual.
Click "Next".
Depending on the selected Contract workflow, answer the basic questions associated with it.
After answering the questions, click on “Preview Contract” to see how the questionnaire responses appear on the contract. Some fields will be filled with a dummy variable within [square braces], which will be populated once the contract receives the Counterparties response.
Click on “Create Template” to set up the "Express Contract".
Step 3: Sharing the Express Contract URL link for getting contracts signed
Your contract is now ready to be shared with counterparties for their inputs.
Copy the "🔗Counterparty Shareable Link" and send it to any number of counterparties. They can fill in the required details and sign using the digital signatures embedded in the contract.
💡The counterparty can answer questions once they receive the link and authenticate themselves.